I hope you all enjoy the video I love it when goodies come in the mail….I will return tomorrow with a fun card project to share!!!! I know this is quick and short but I want you to enjoy the goodies!!!!!
Thanks for watching
Tantalaya “TE”

I hope you all enjoy the video I love it when goodies come in the mail….I will return tomorrow with a fun card project to share!!!! I know this is quick and short but I want you to enjoy the goodies!!!!!
Thanks for watching
Tantalaya “TE”
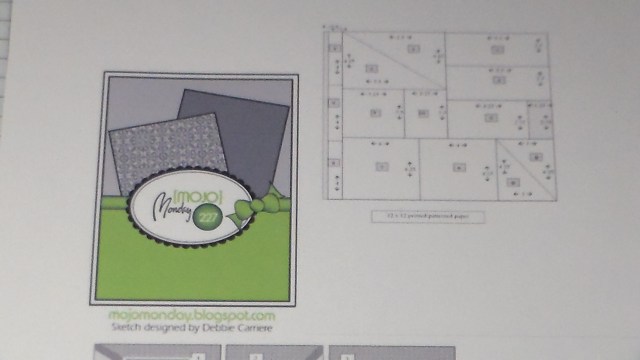
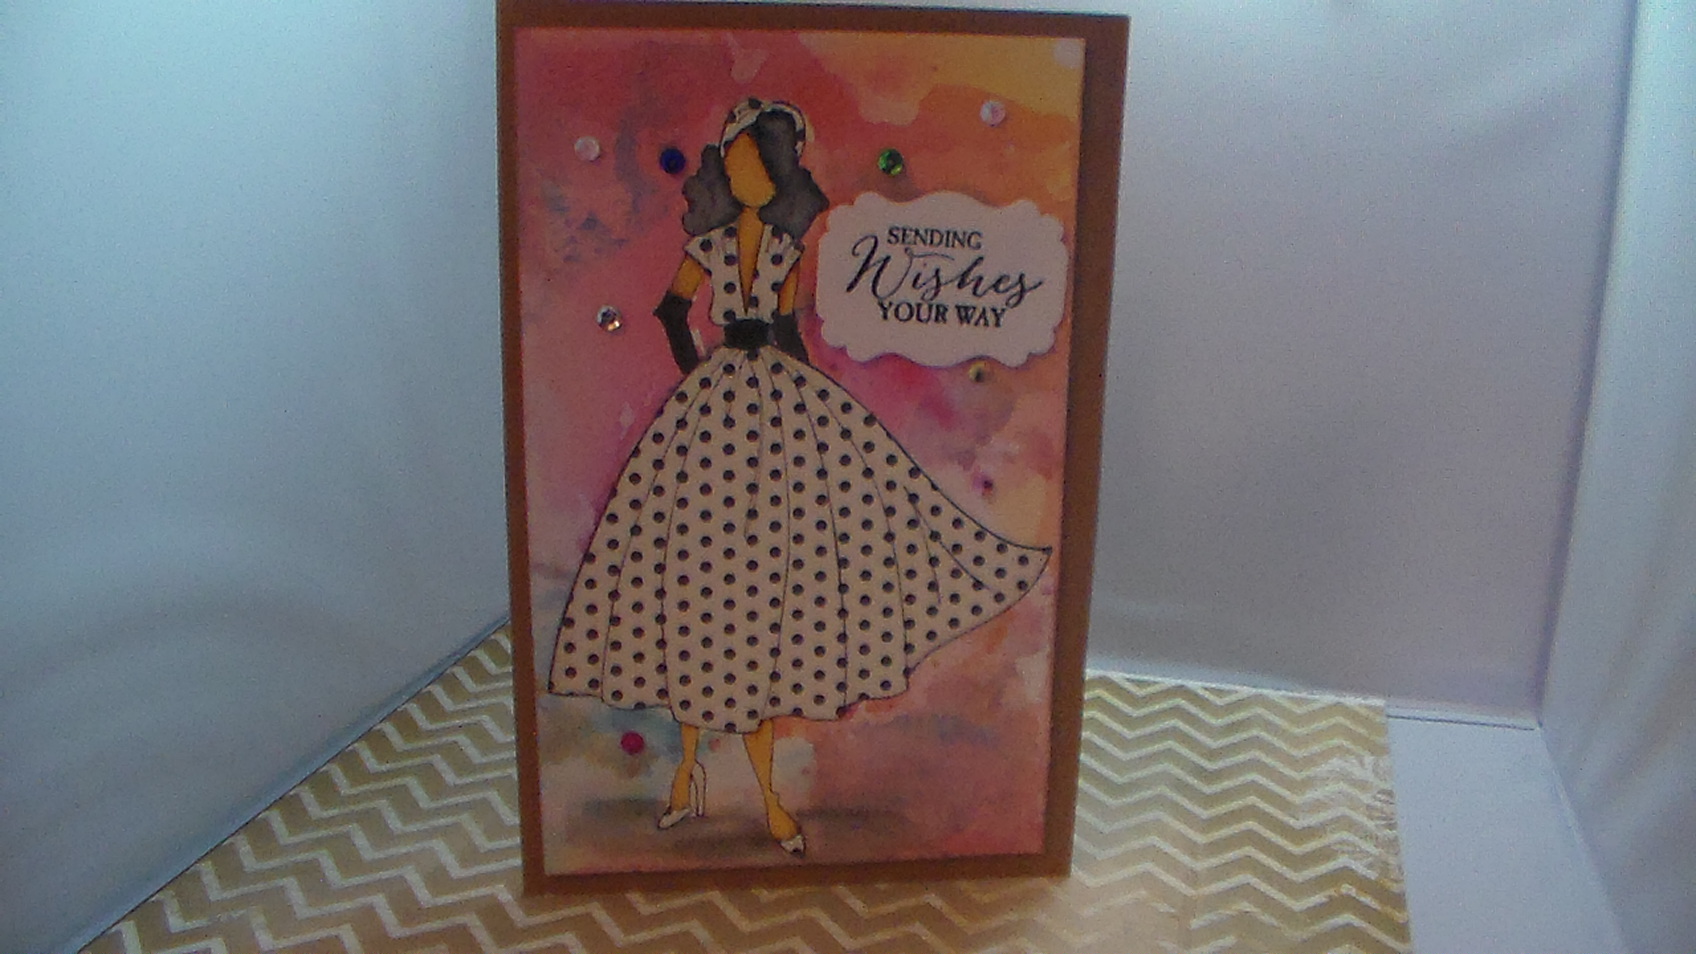
Today’s video is focusing on a card ketch from Mojo Monday #227. I am in love with doing these sketches because it takes the frustration of trying to figure out what to do. I really want to do more of these and have turned my friday videos mostly to doing sketches.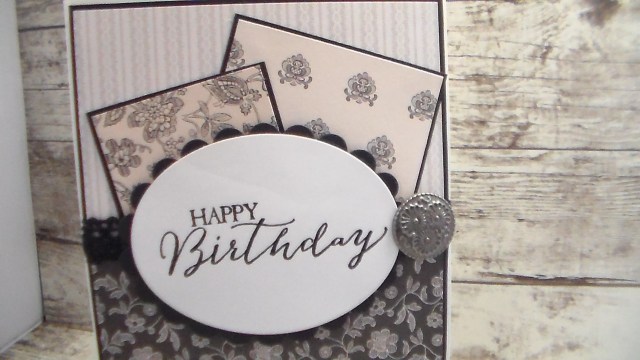
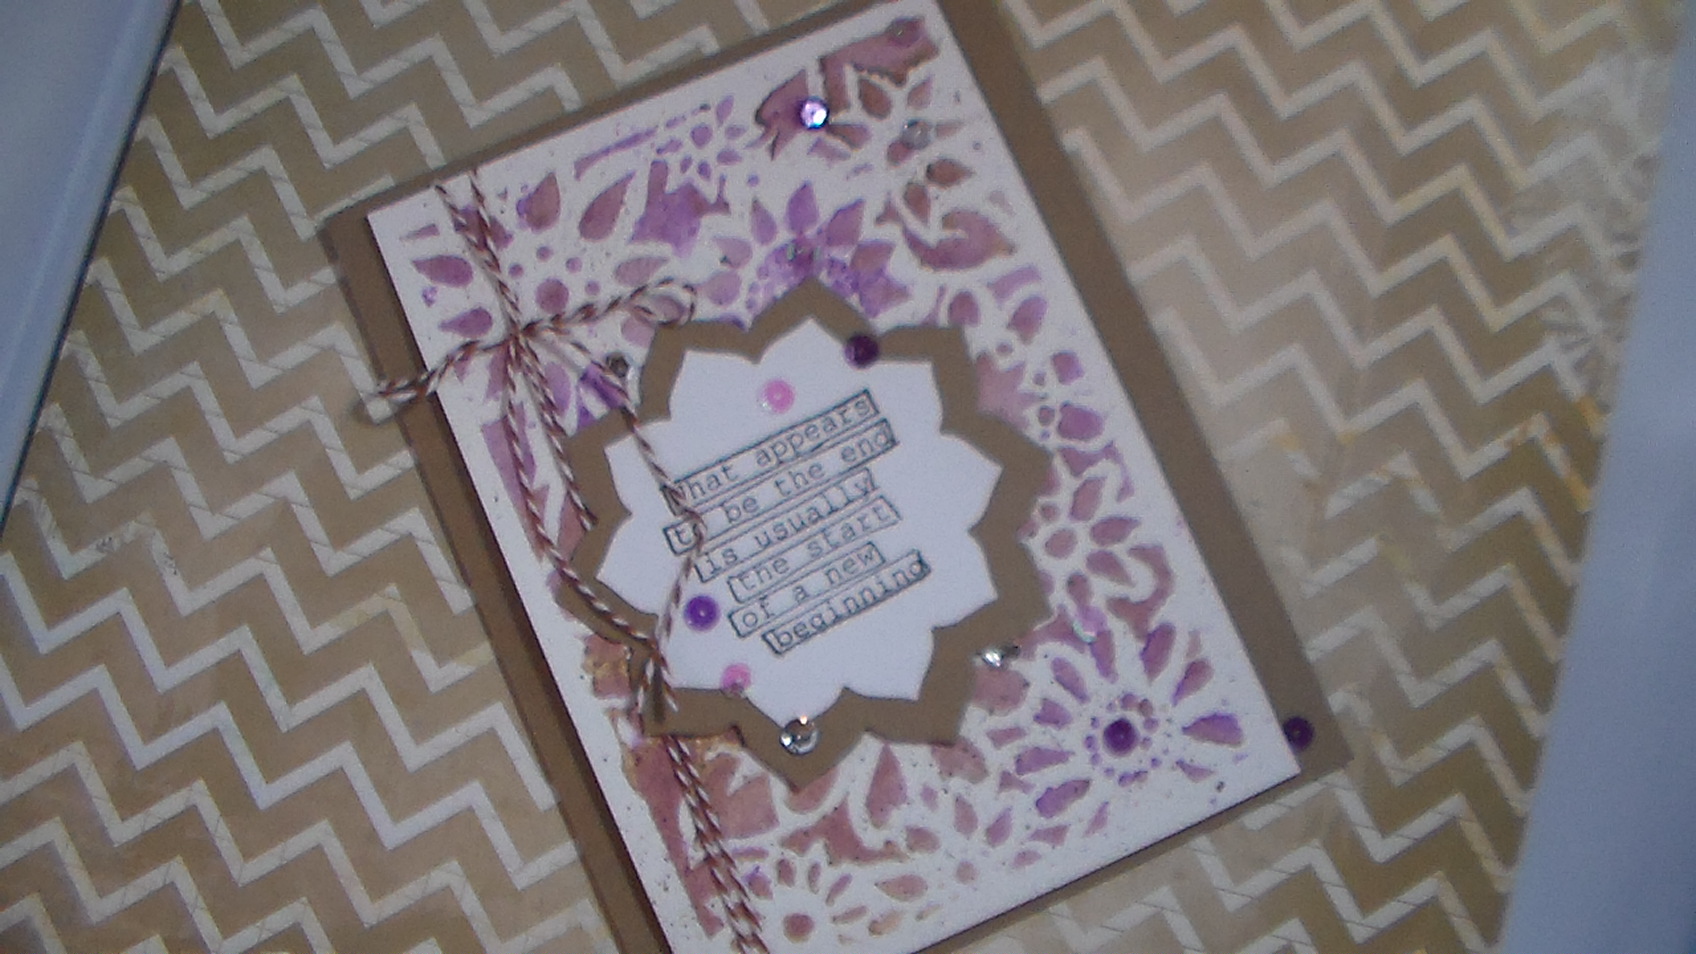
I used a standard size A2 card 4 1/4 X 5 1/2″ for this sketch. I cut a black piece for base to be 5 3/8 x 4 1/8″ and then fit my 2 pieces so there was a slight over lap….the square pieces in the back the black matt is 2 x 2″ and the bigger one is 2 1/2 x 2 1/2″ and then I took 1/8″ off the pattern paper for each of those.
Once I put the squares down I took my lace, which has adhesive on the back down and then I stamped the sentiment on the oval focal piece. in the sketch they had a bow where I put a button, but because of the lace having adhesive I knew it would be a but to tie a bow out of. So I made a hole with piercing tool and attached brad.
Link for the video will be below and I hope you enjoyed the card and video that goes with it.
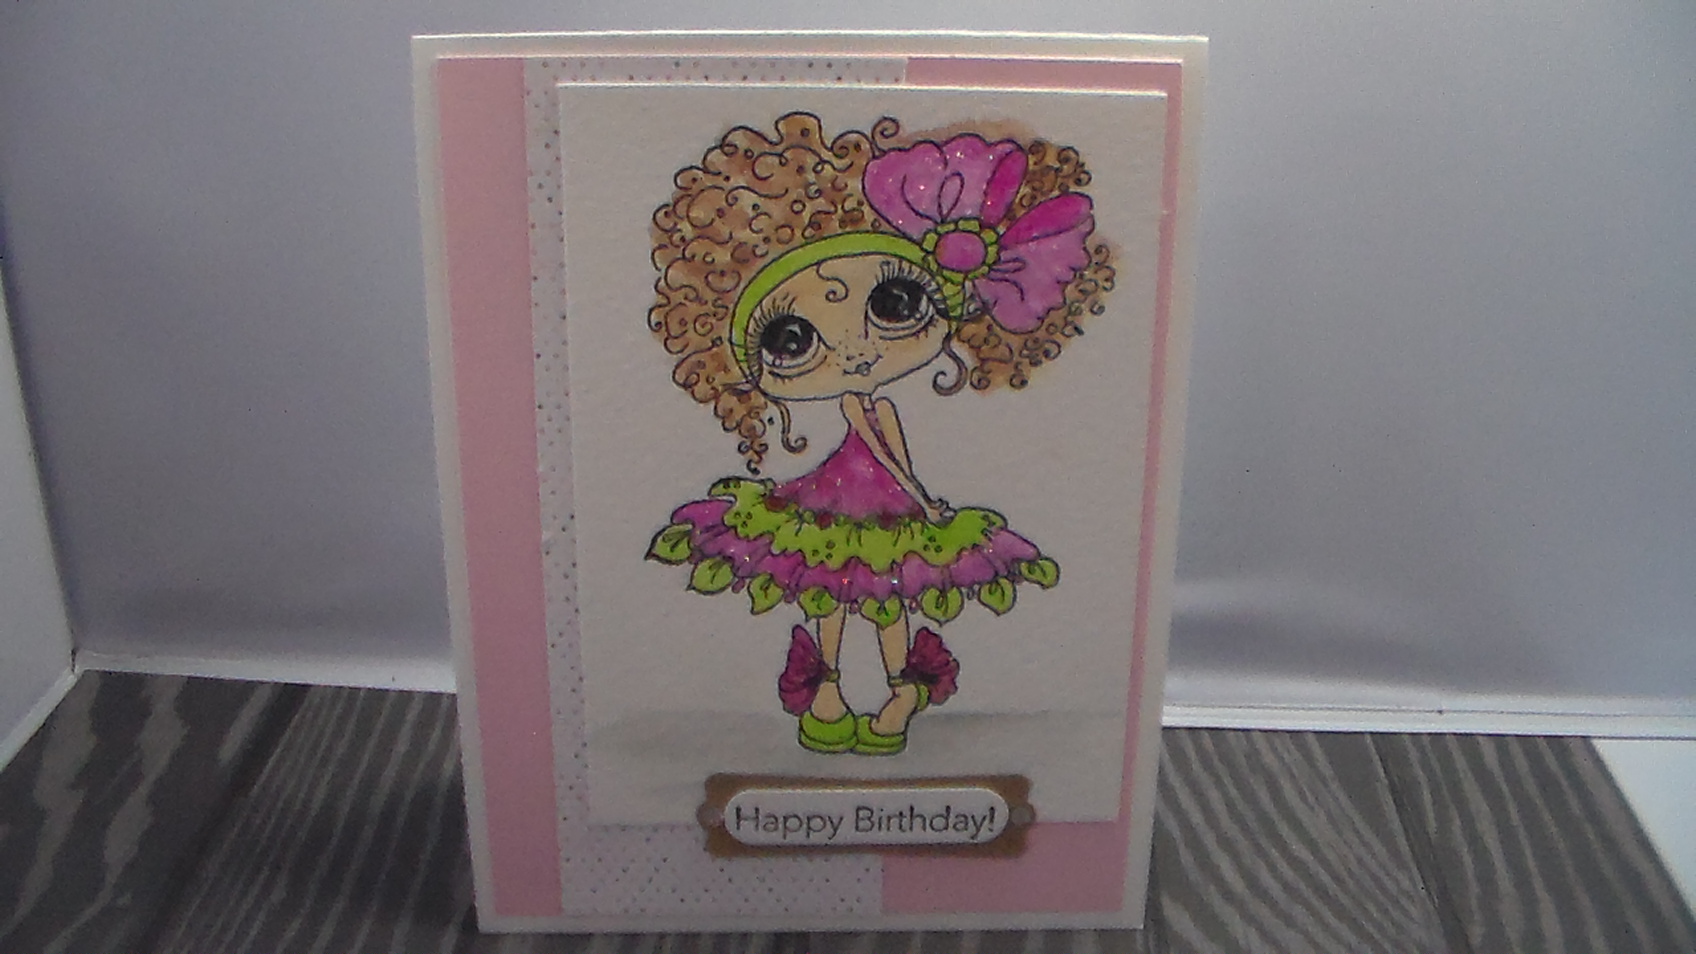
So today I took it back to my series of sketches. I love how they turn out and they can be simple or more complicated….depending on your mood and how much you want to do…If you can I suggest to complete more than one when doing a sketch so you have one to give away and the other to remember what you did.
After I have selected the Sketch plan o, I then start to think what paper and size of the sections. When you have those down times and you want to work in craft room but may not have a project….I suggest that you cut out circles, squares, and other shapes you may have hich can be a great help when working on sketches.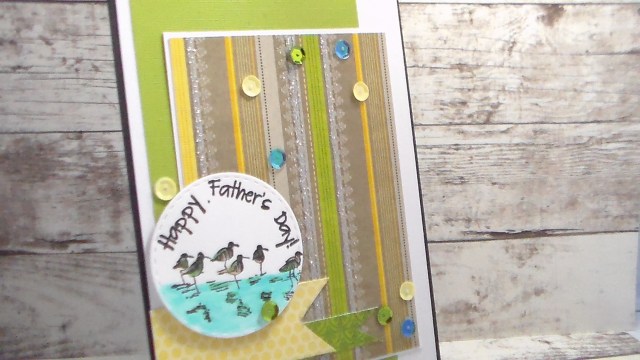
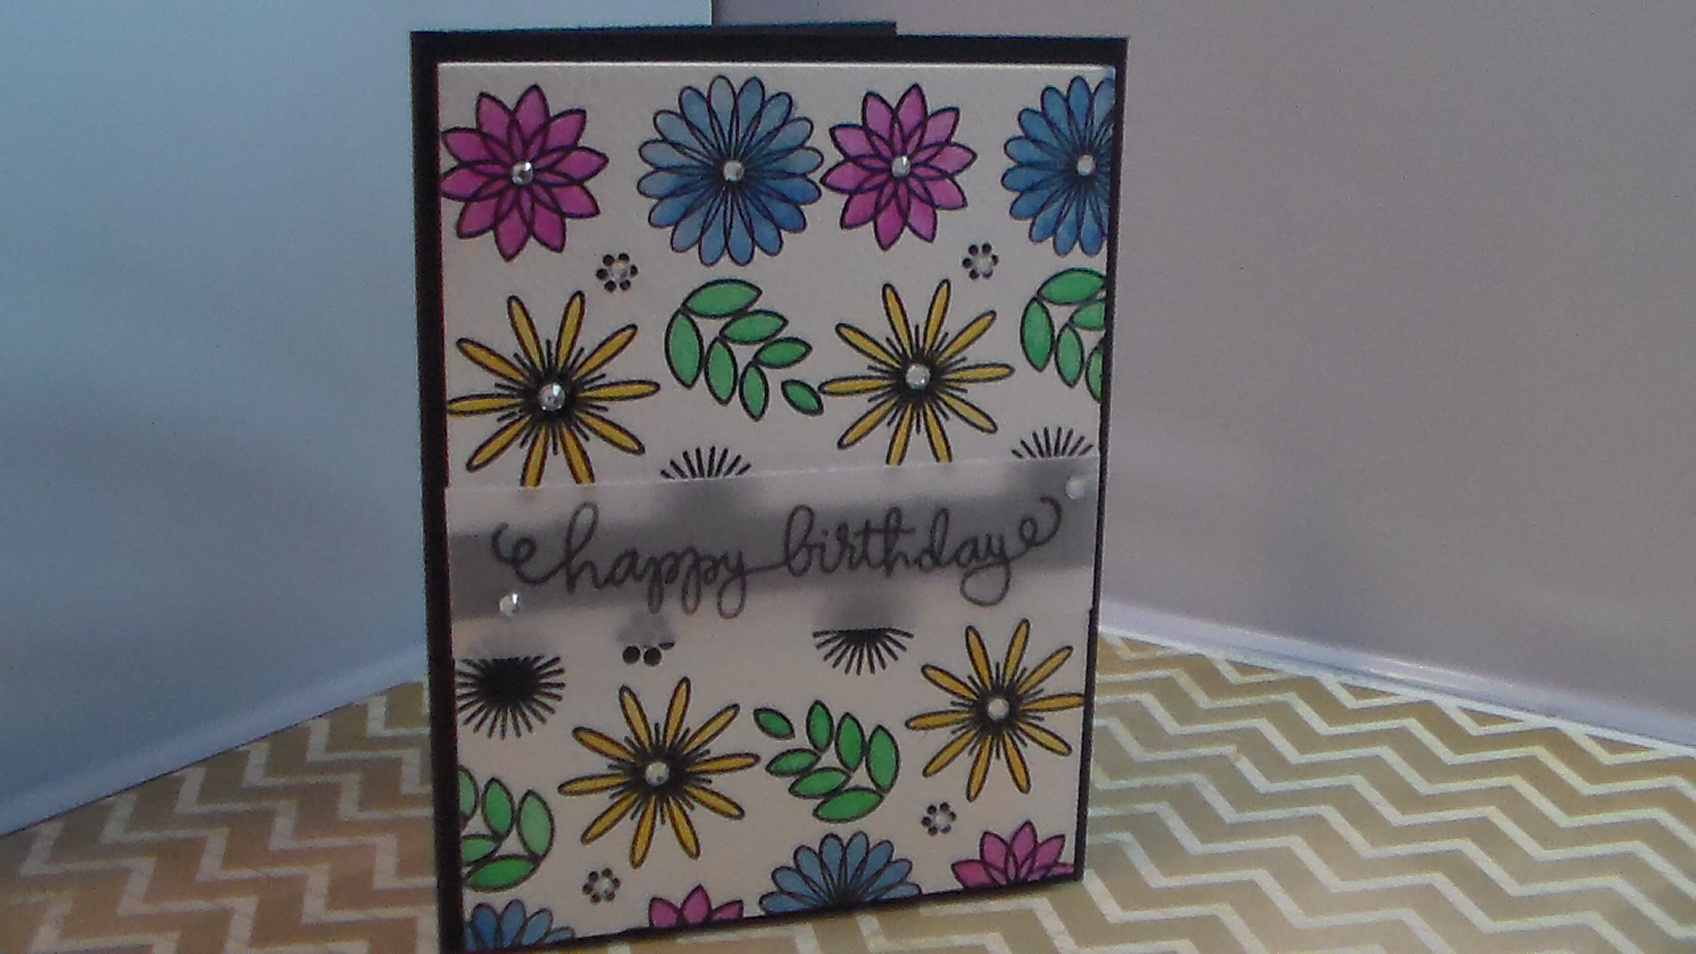
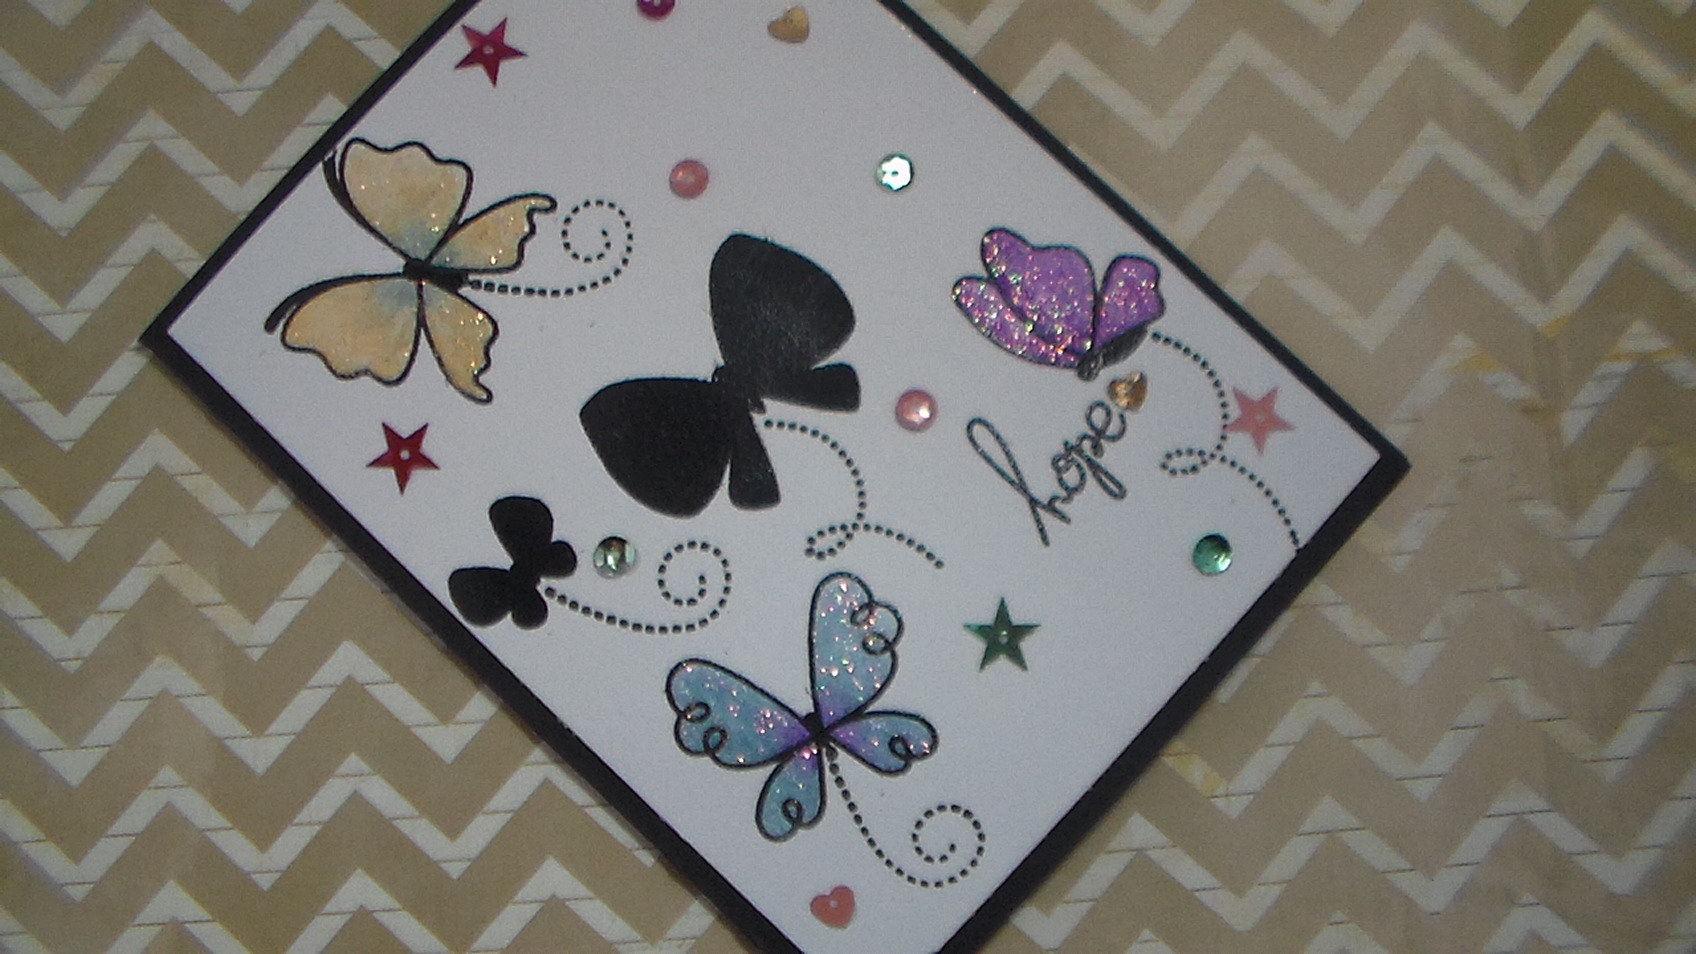
You can see in the pictures we have used paper with glitter and I added sequins….this card is still male and a great card for dad for Father’s Day coming up. I actually took a straight sentiment and nipped so I could curve the stamp and get it right where I needed it.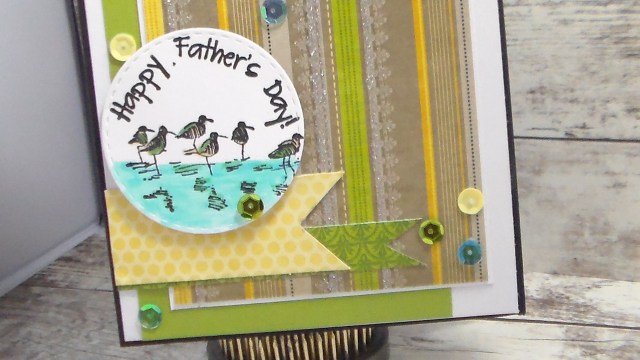
For the coloring I used Zig Real brush markers and I stamped the ink with the hybrid ink by MFT, so I could color with n smearing. I love those stitched dies!!!!!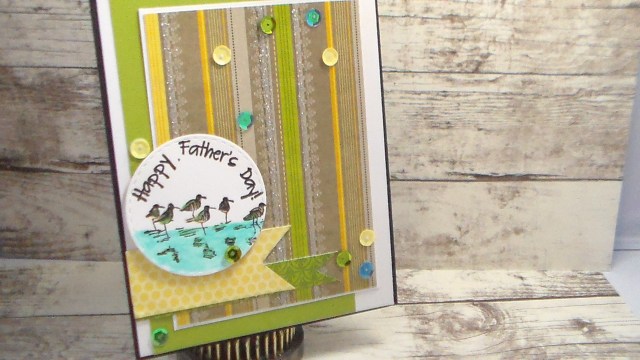
I hope you enjoy the video for today check it out on YouTube: https://youtu.be/t8mGOihpMaI
Thanks
Tantalaya “Te”
We are playing with the toner sheets and foiling……you know I can’t get enough right lol!!!!! Well I hope you enjoy and make sure you follow and subscribe to my Channel!!!!
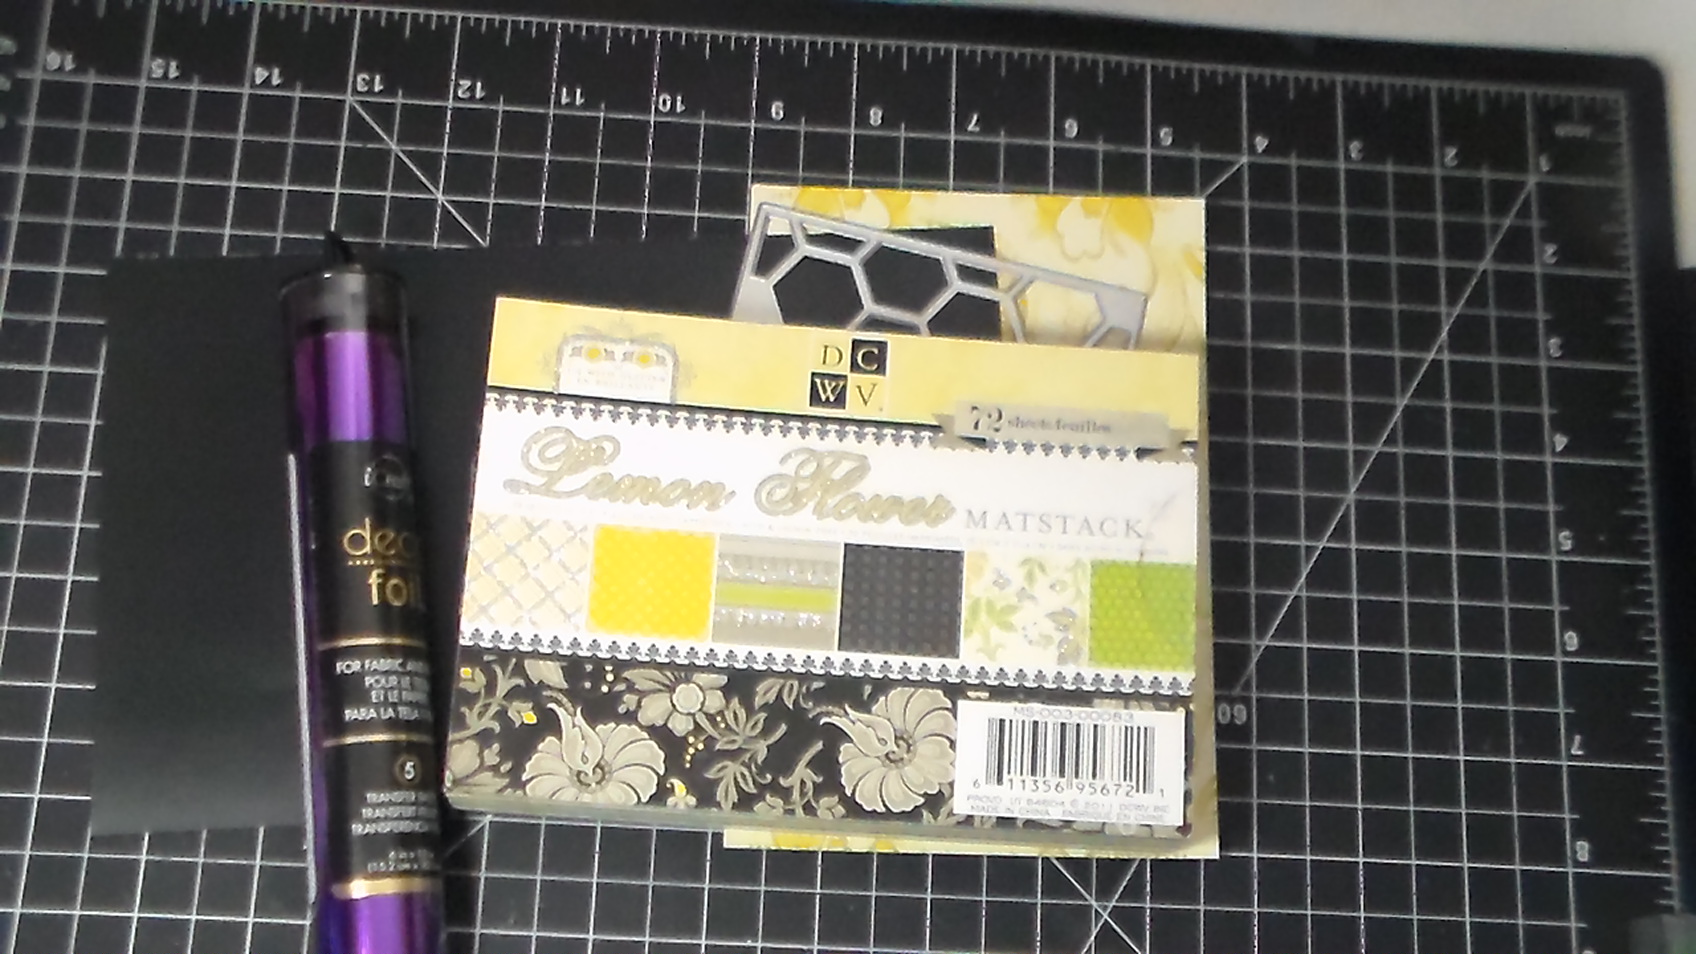
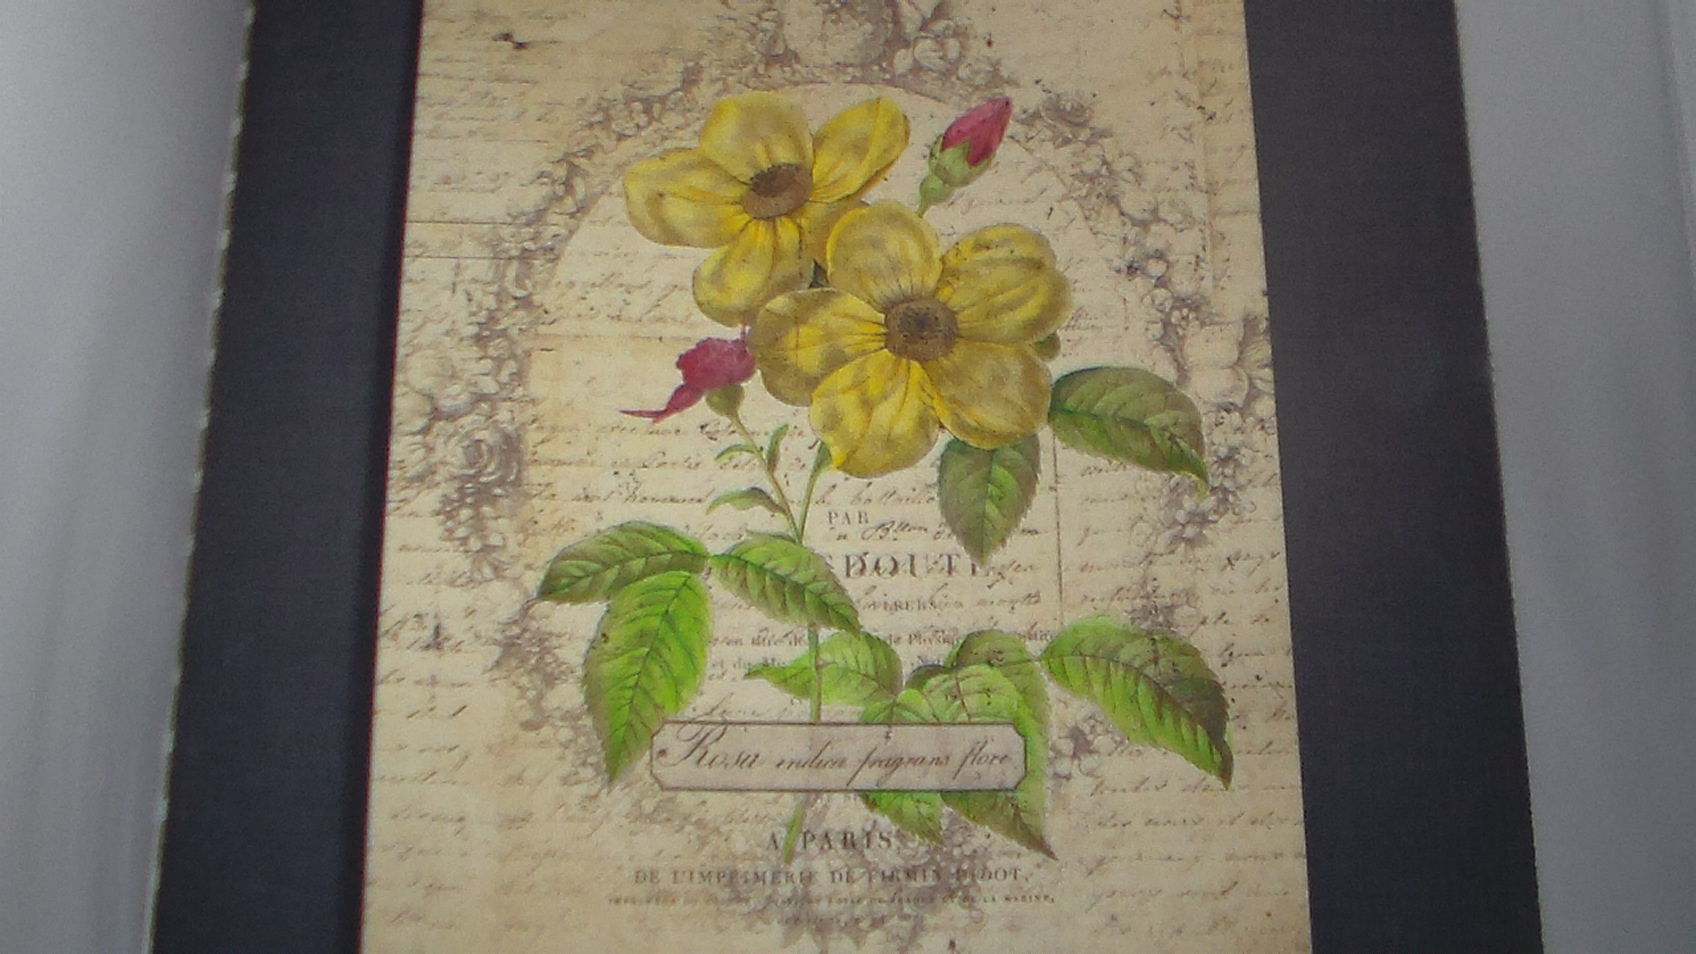
We are using DCWV paper pad ” Lemon Flower”and the Toner sheets by deco foil. Make sure you have a laminator to run your project through….in the video I use the mini minc on #3 setting……I will give you a heads up as this pops into my mind make sure to run it through twice if on low to ed heat setting. It does have a tendency to want to scratch and can make your project very ugly so be careful and use Stick It.
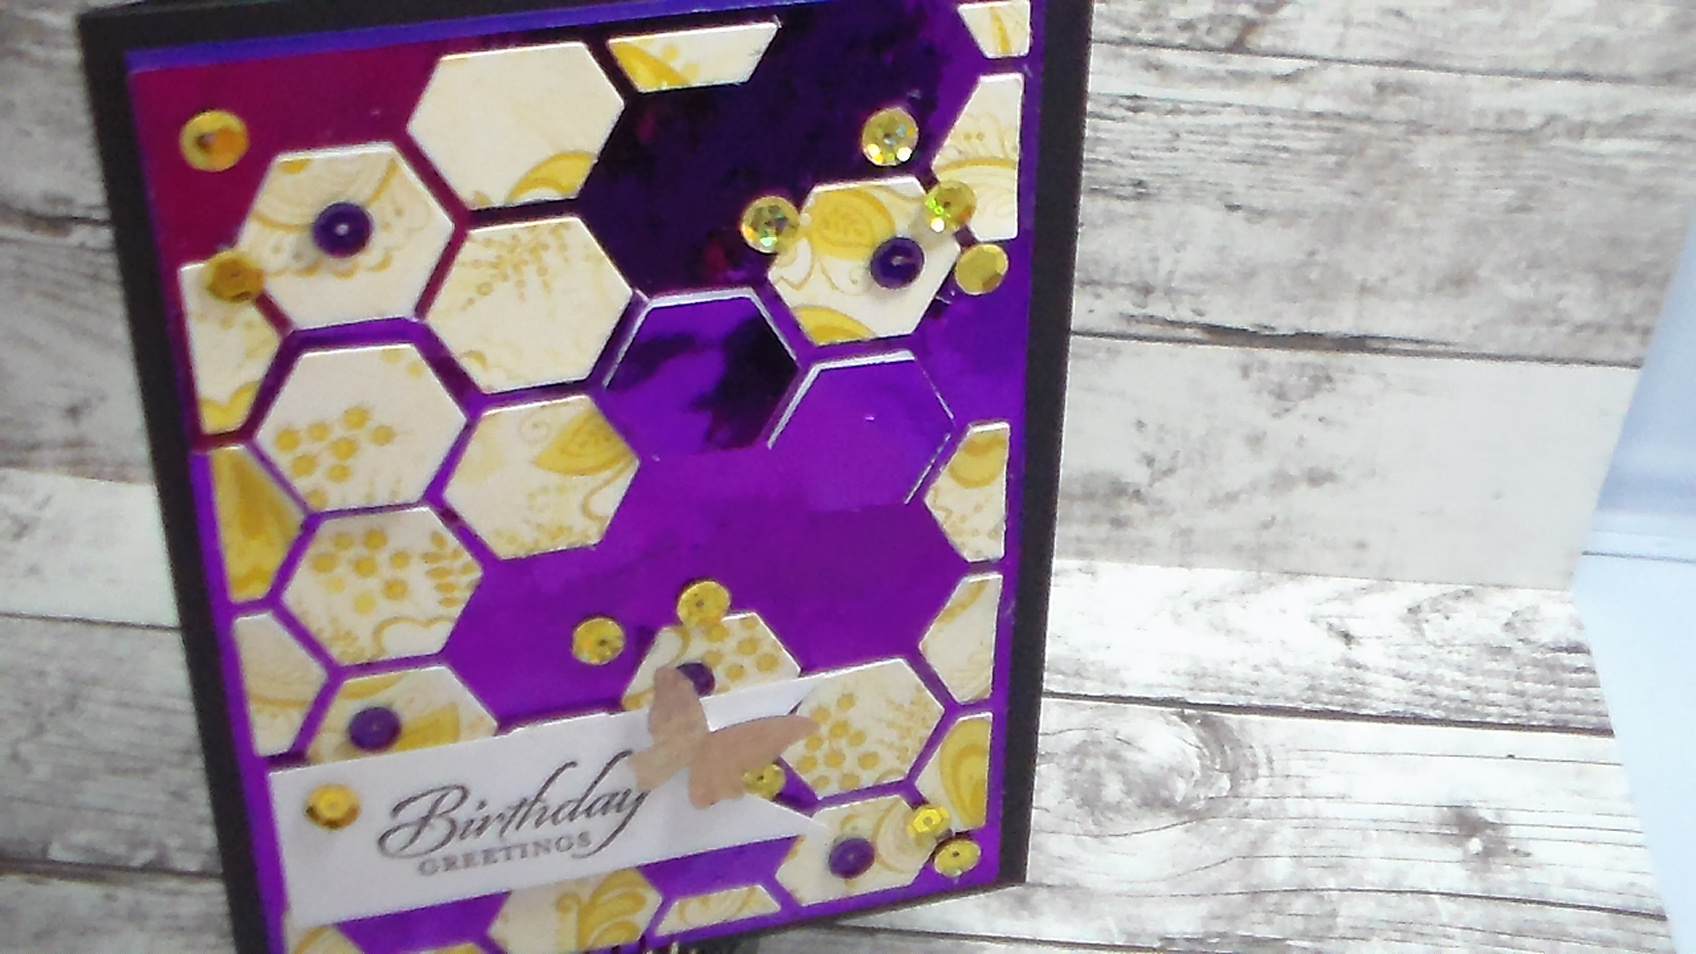
I ran the thinlit die through the cuttleBug and got the yellow pieces to put into the foil piece. At this point the stick would have been very useful because they would have had sticky tape on he piece already.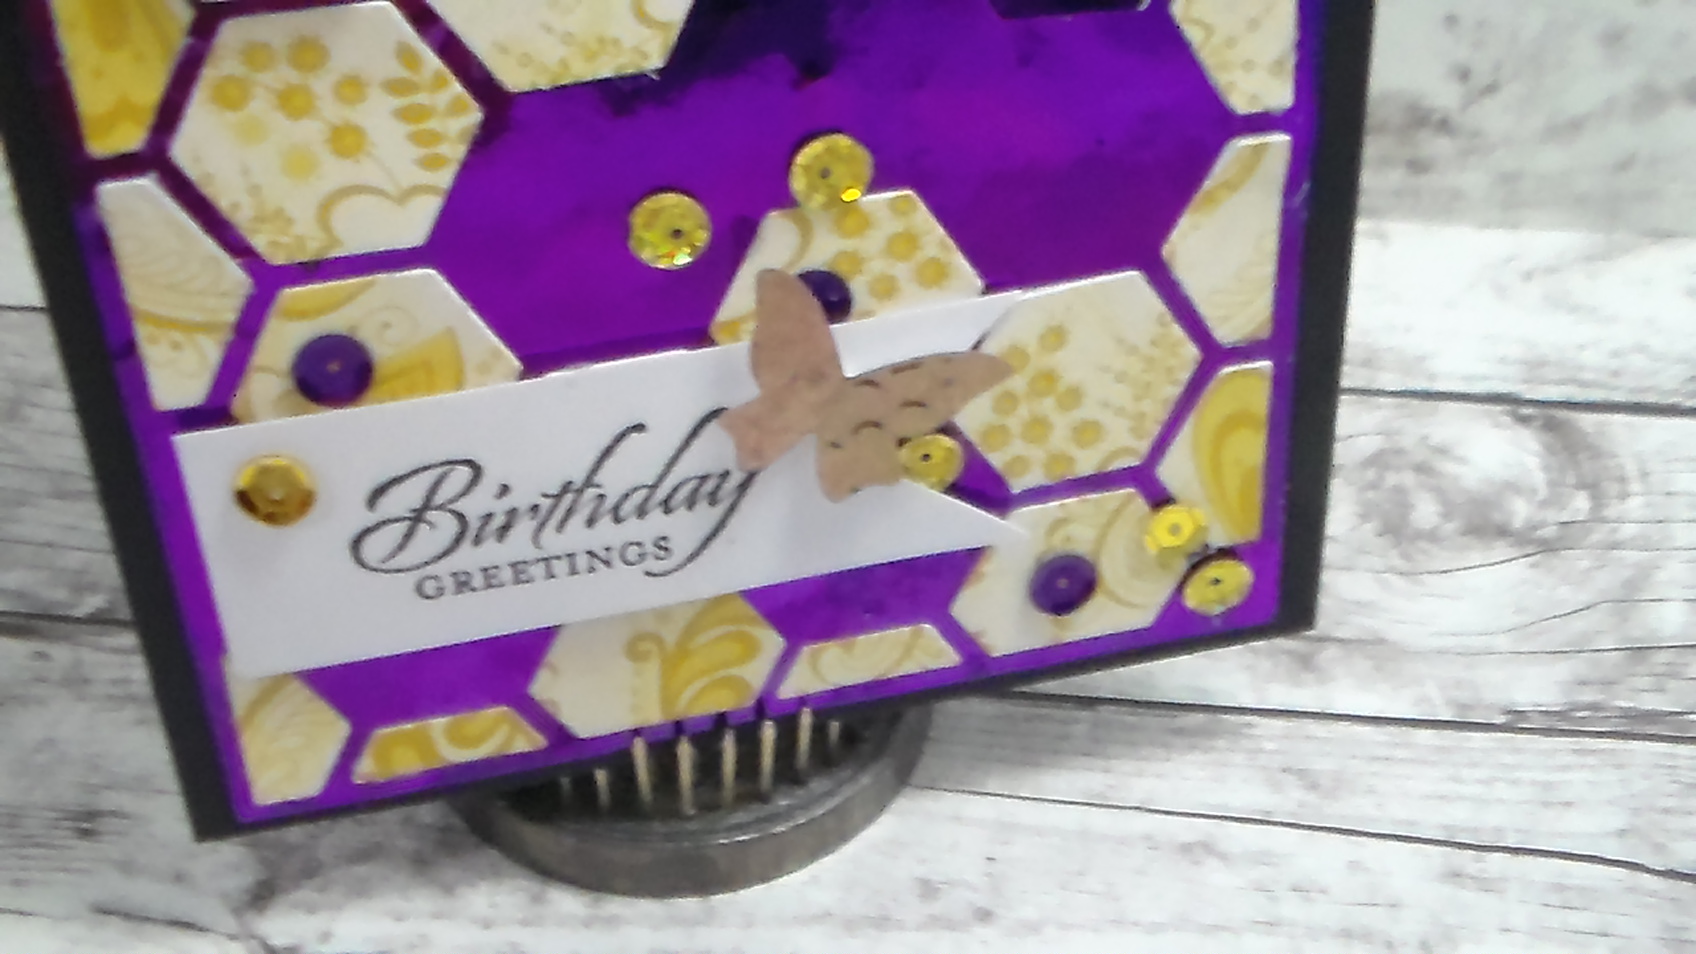
I also added sequins at the end to cover up a boo boo or 3 LOL…….But when you add a simple greeting and a butterfly to the front this turns out to be a really pretty card. I m making it for a friend who loves yellow and purple……I think she might like this card….what do you guys think?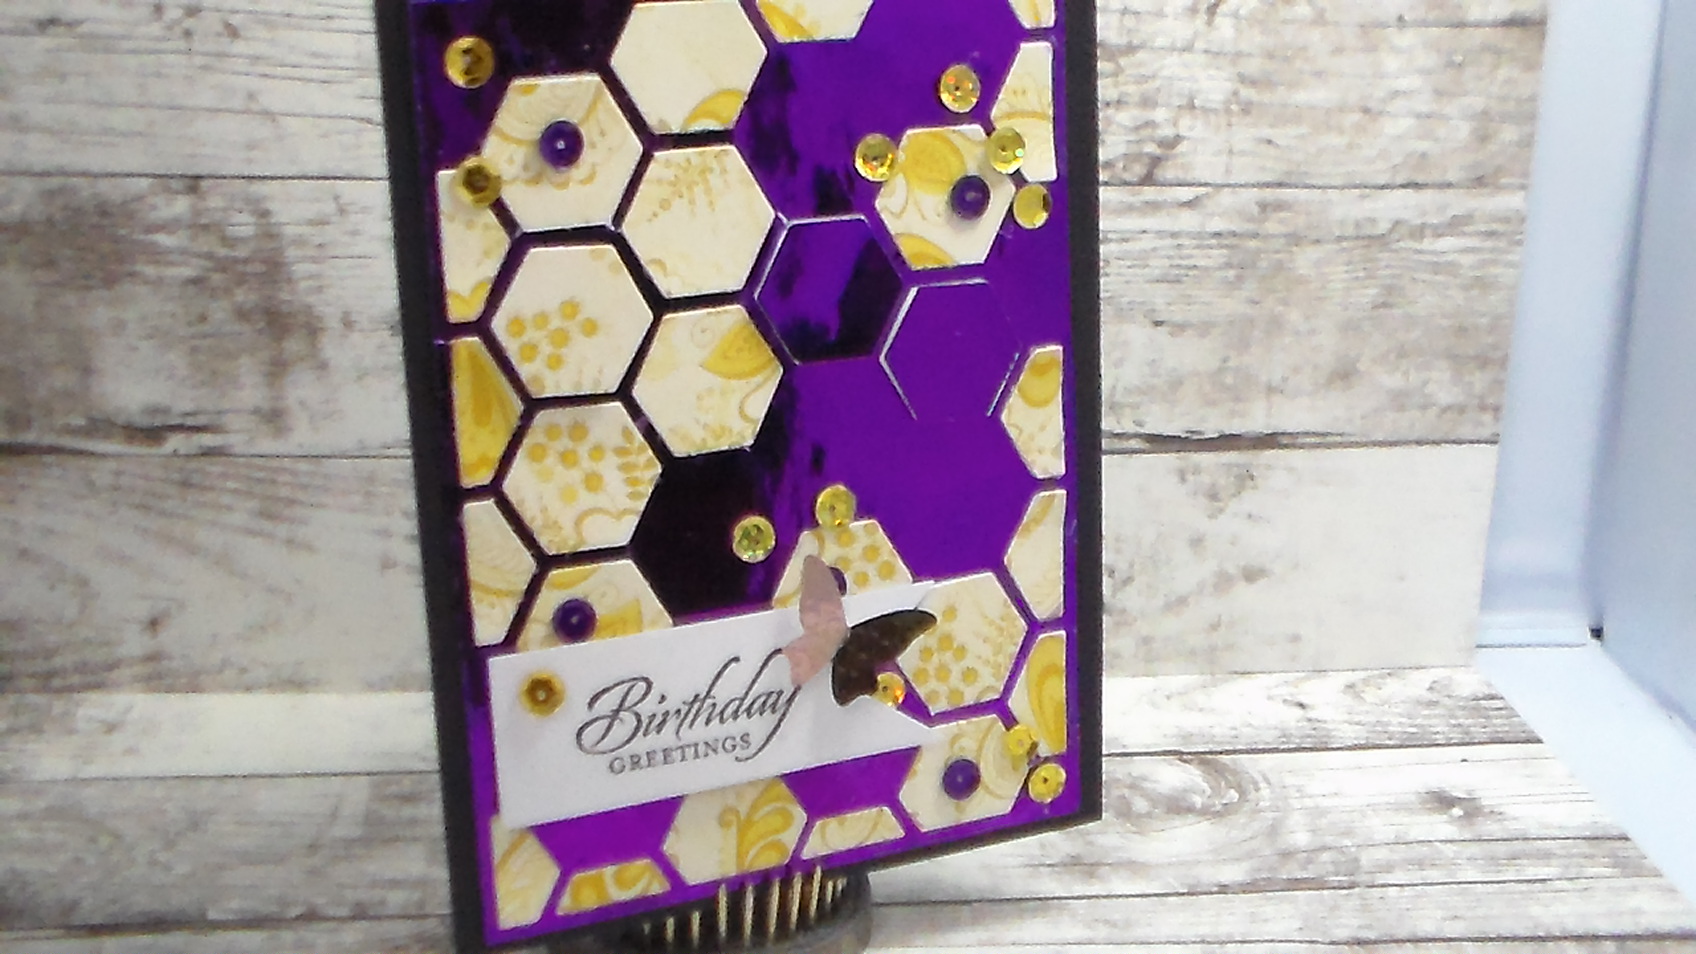 Please go to my youtube and check out the video I will put link down below for quick link. Thanks again for stopping by and I hope you all enjoy!!!!!
So today I’m sharing a video I did for Scrapbooking With ME Boutique’s Members Room. I am like many people who love foiling but may not have all the tools you need. I do need to confess that I did go out and by a laser printer small in case I want to print items and foil them. But did you know that Deco Foil has toner sheets. What are toner sheets? Well let me tell you they are awesome. Basicly toner sheets allow you to cut with dies you may own and then foil those pieces…..you can cut out shapes as well…..I think these sheets are amazing and I am mad I only about 2 packages..I need more of these for sure and more colors of foil…….
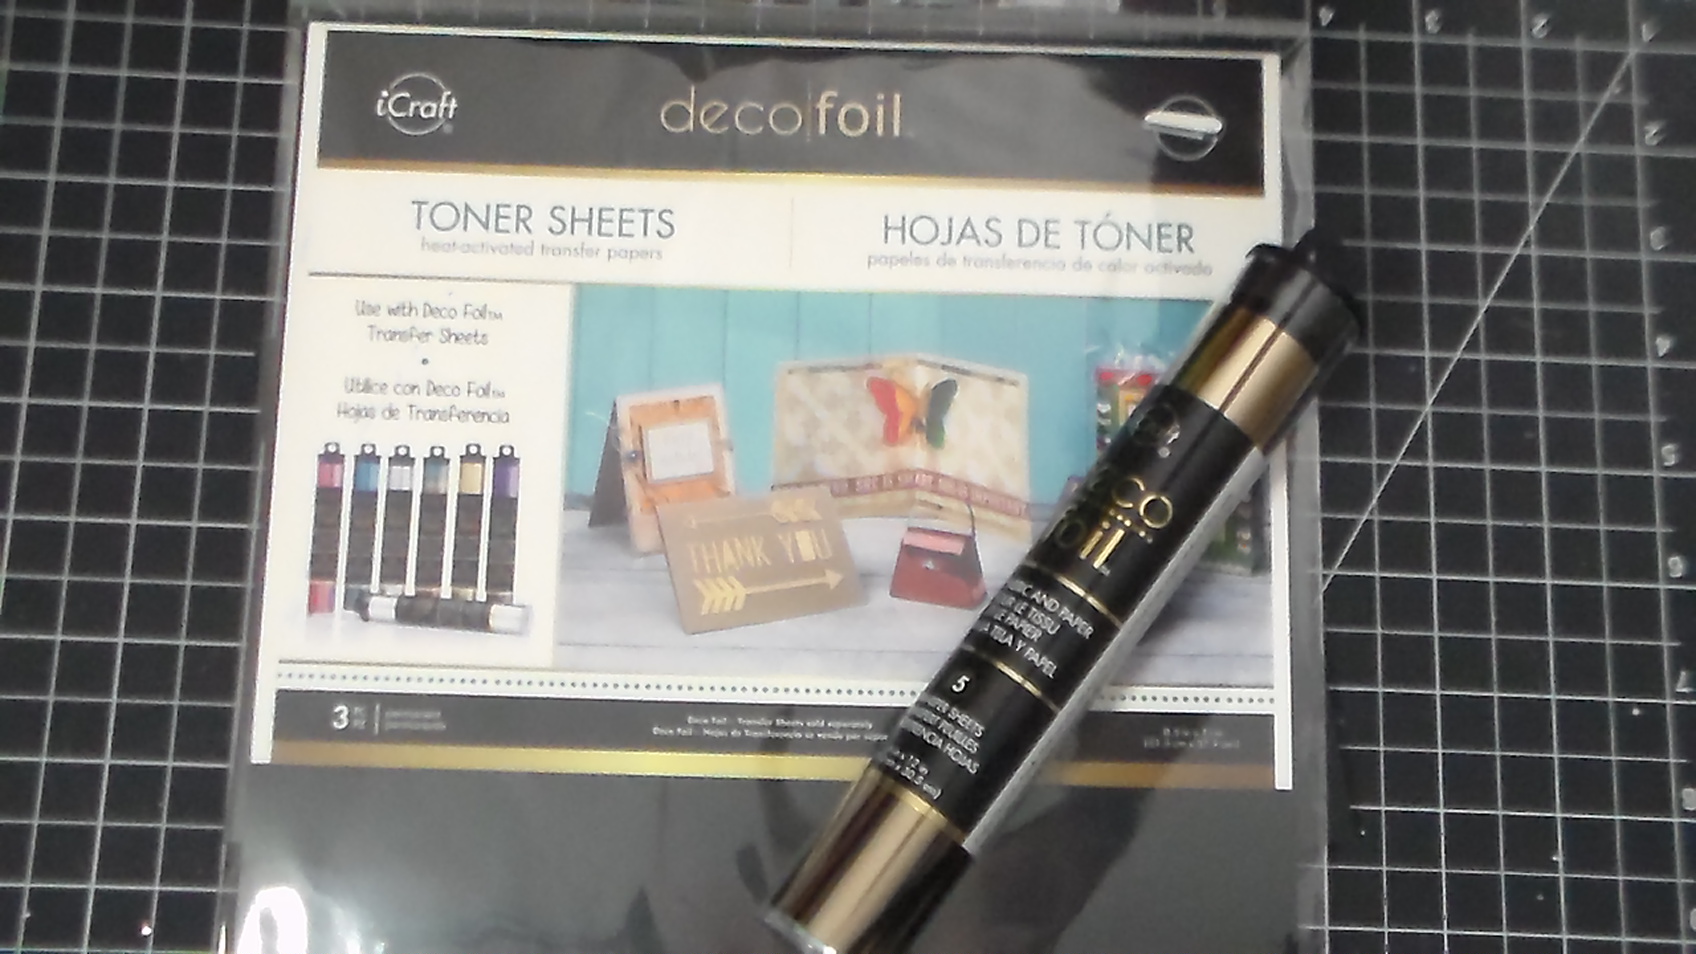
So these packages come with 3 sheets of 8 1/2 x 11″. They are thin but cut very easy with die cuts. The die cuts I used in the photos below are word dies 3 different Thanks, and then I used from Stampin’ Up! the embosslits “Beautiful Wings”.
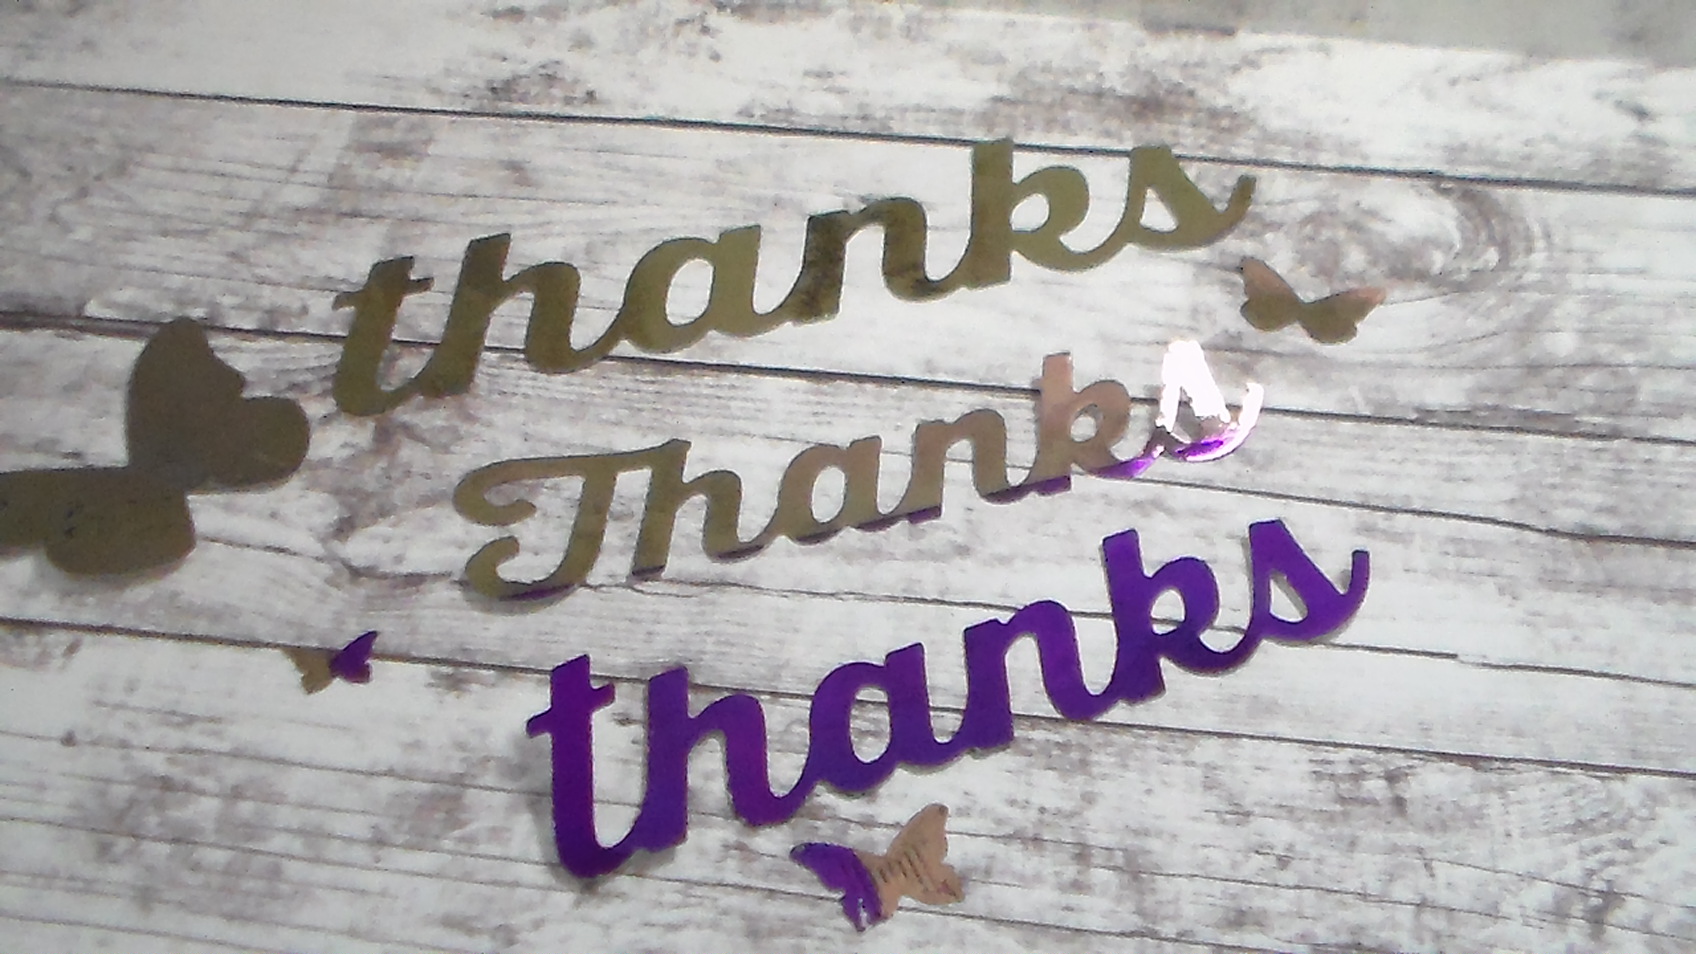
I used Rose gold colored foil and purple colored foil……Pictured above you see all the items and as we go down you will see some close up and looks and these items.

It was cool on this Thanks I used both the purple and the rose gold foil. I put the purple just slightly on the bottom of the word for a nice effect.
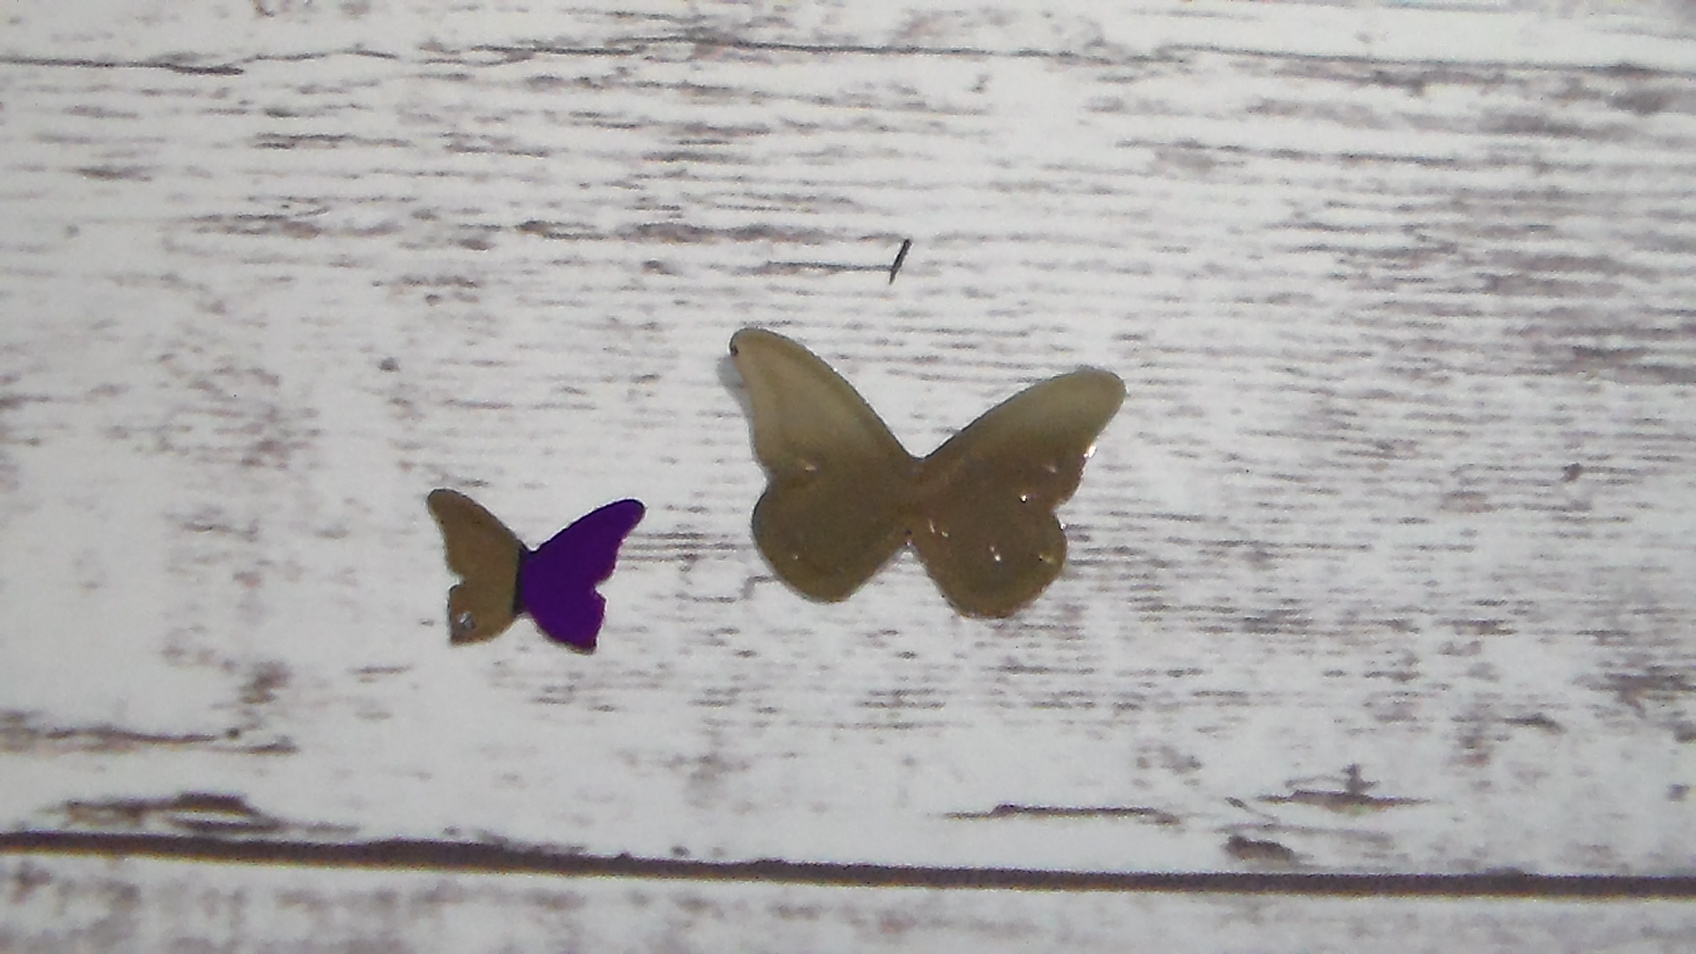
Here are close up of 2 of the butterflies….you get 5 on that framelit.
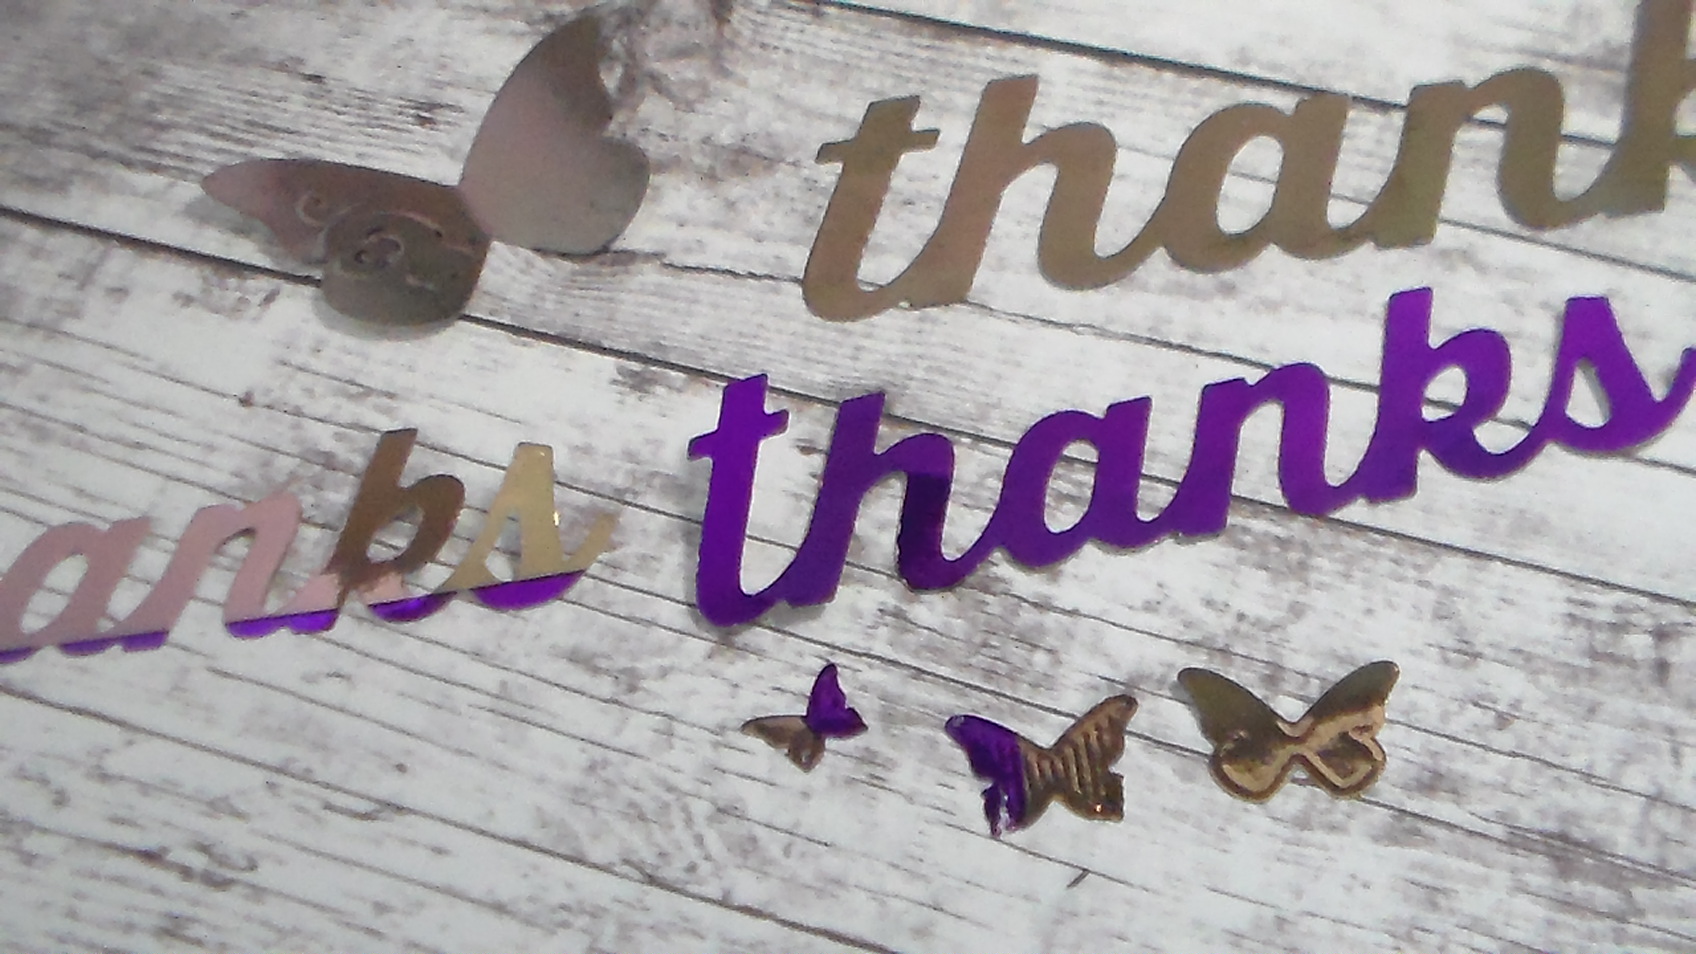
Then finally just 2 more pictures showing all the items we did today. This was probably one of my favorite play times……I am in love with foiling.
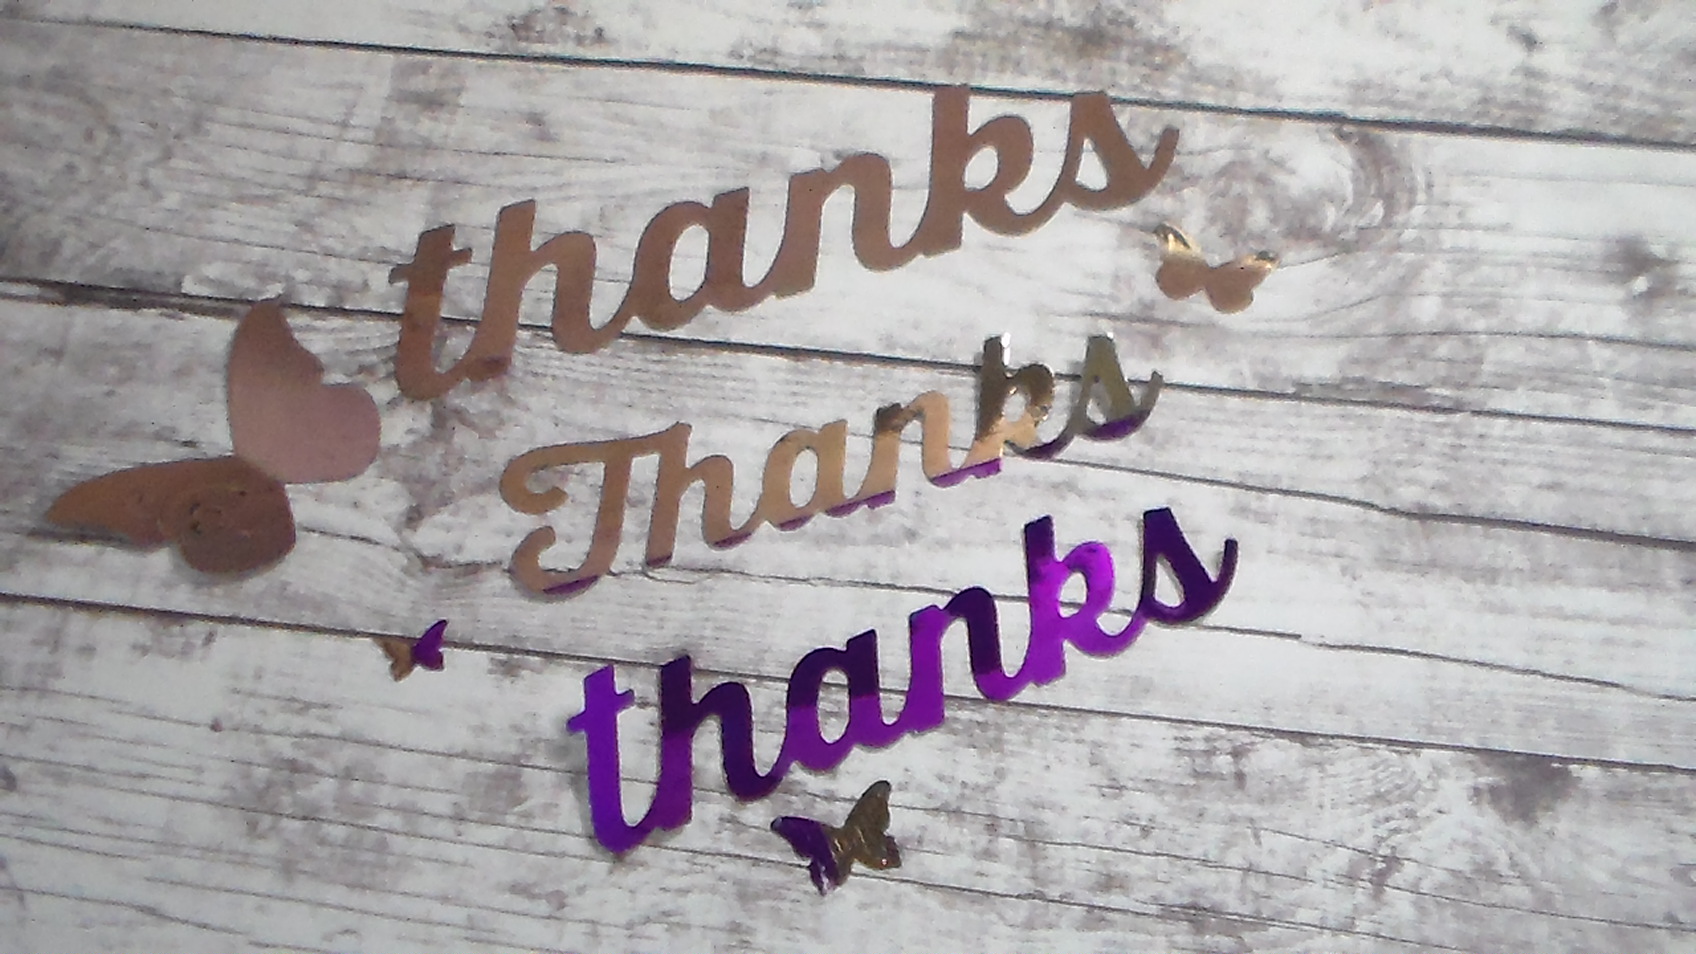
One final thing I did save these pieces and will be using them as we go because they are really pretty and fun to make. Please be sure to comment and make sure you check out the facebook group and/or the .com for scrapbooking with me boutique. Links for facebook and my other places are listed below:
—-SCRAPBOOKING WITH ME LINKS————
Online Store: http://goo.gl/Iyi5om
FB Sell Group: http://goo.gl/CSN2a5
Members room: http://goo.gl/E6h4uO
Our Blog: http://goo.gl/OUhL1i
———-FIND ME————————
https://www.facebook.com/craftwithte
http://instagram.com/craftwithte
https://craftwithte.wordpress.com
Please make sure you follow this blog and have a great day!!!!!!
Today I posted a video about Mica Flakes and how you use them. I will add a link to video here and add some pictures. I hope everyone enjoys the video and any questions or comments leave them below.
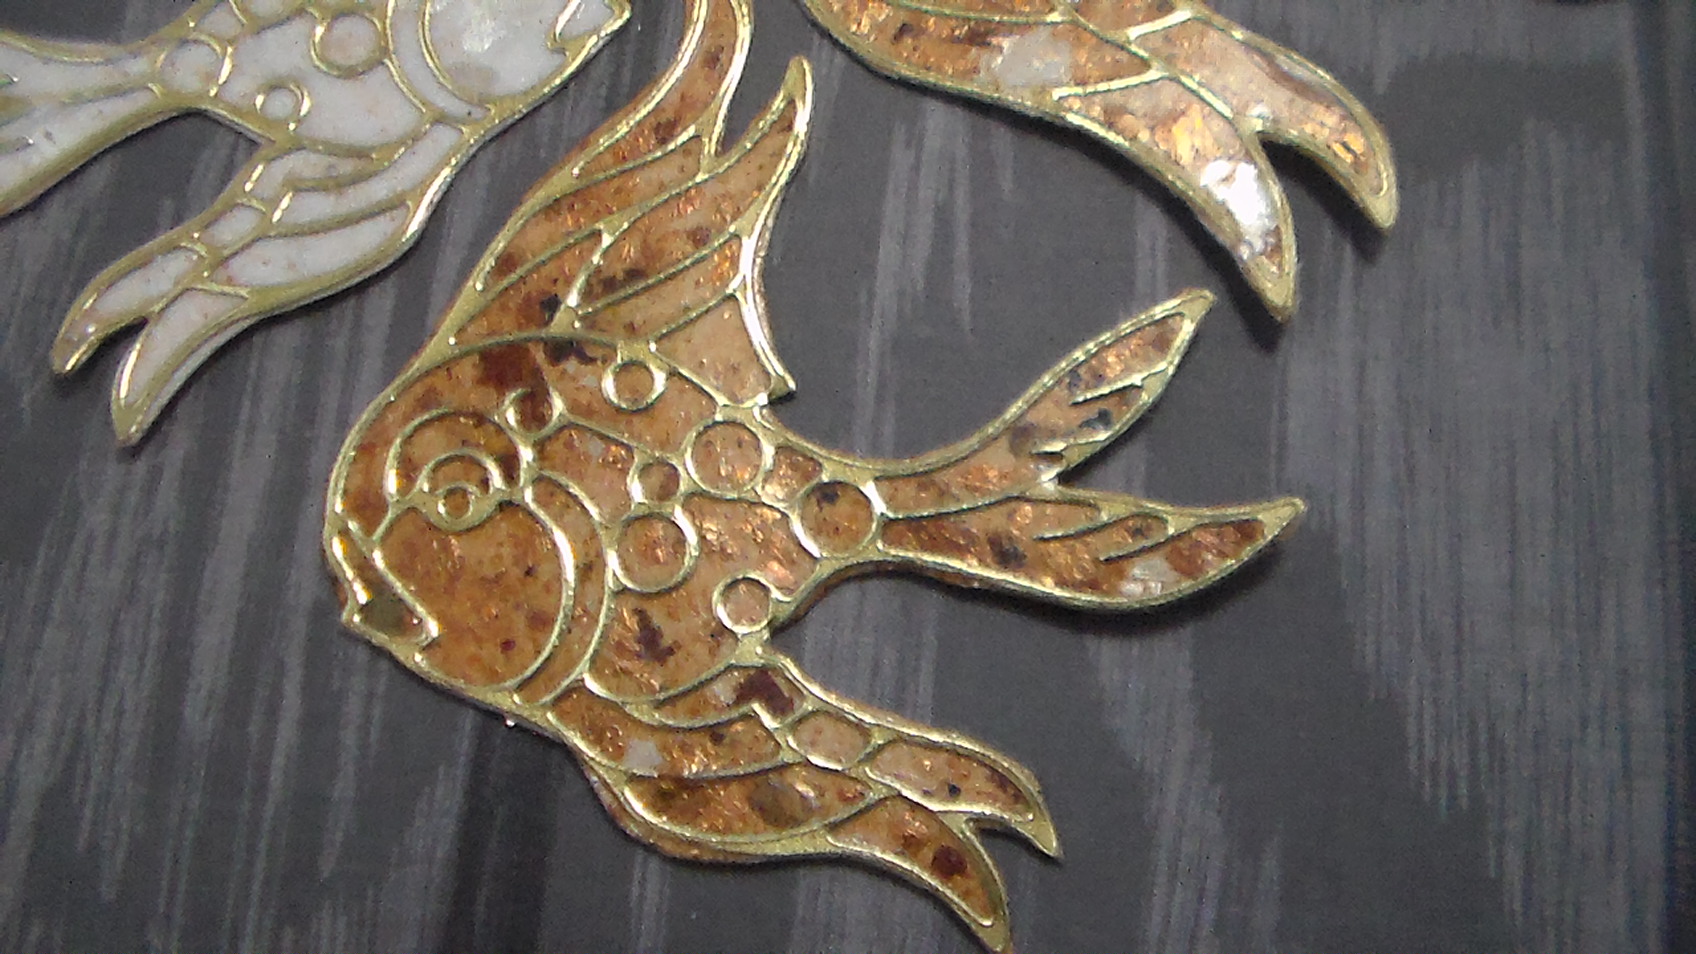

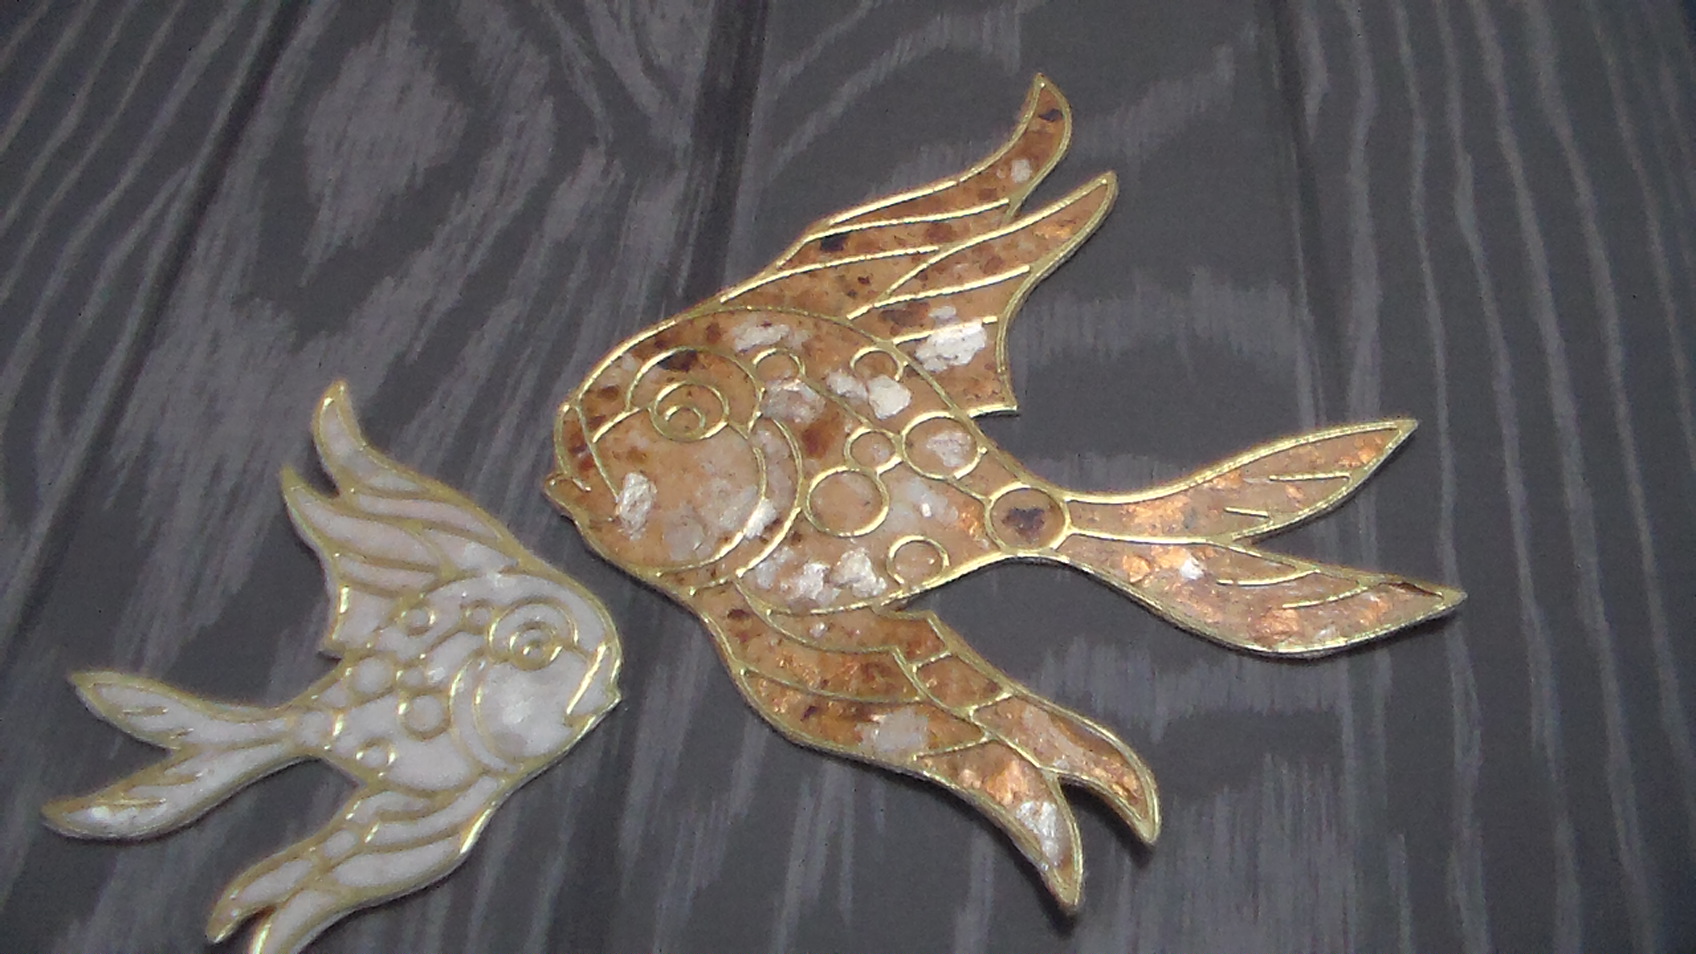
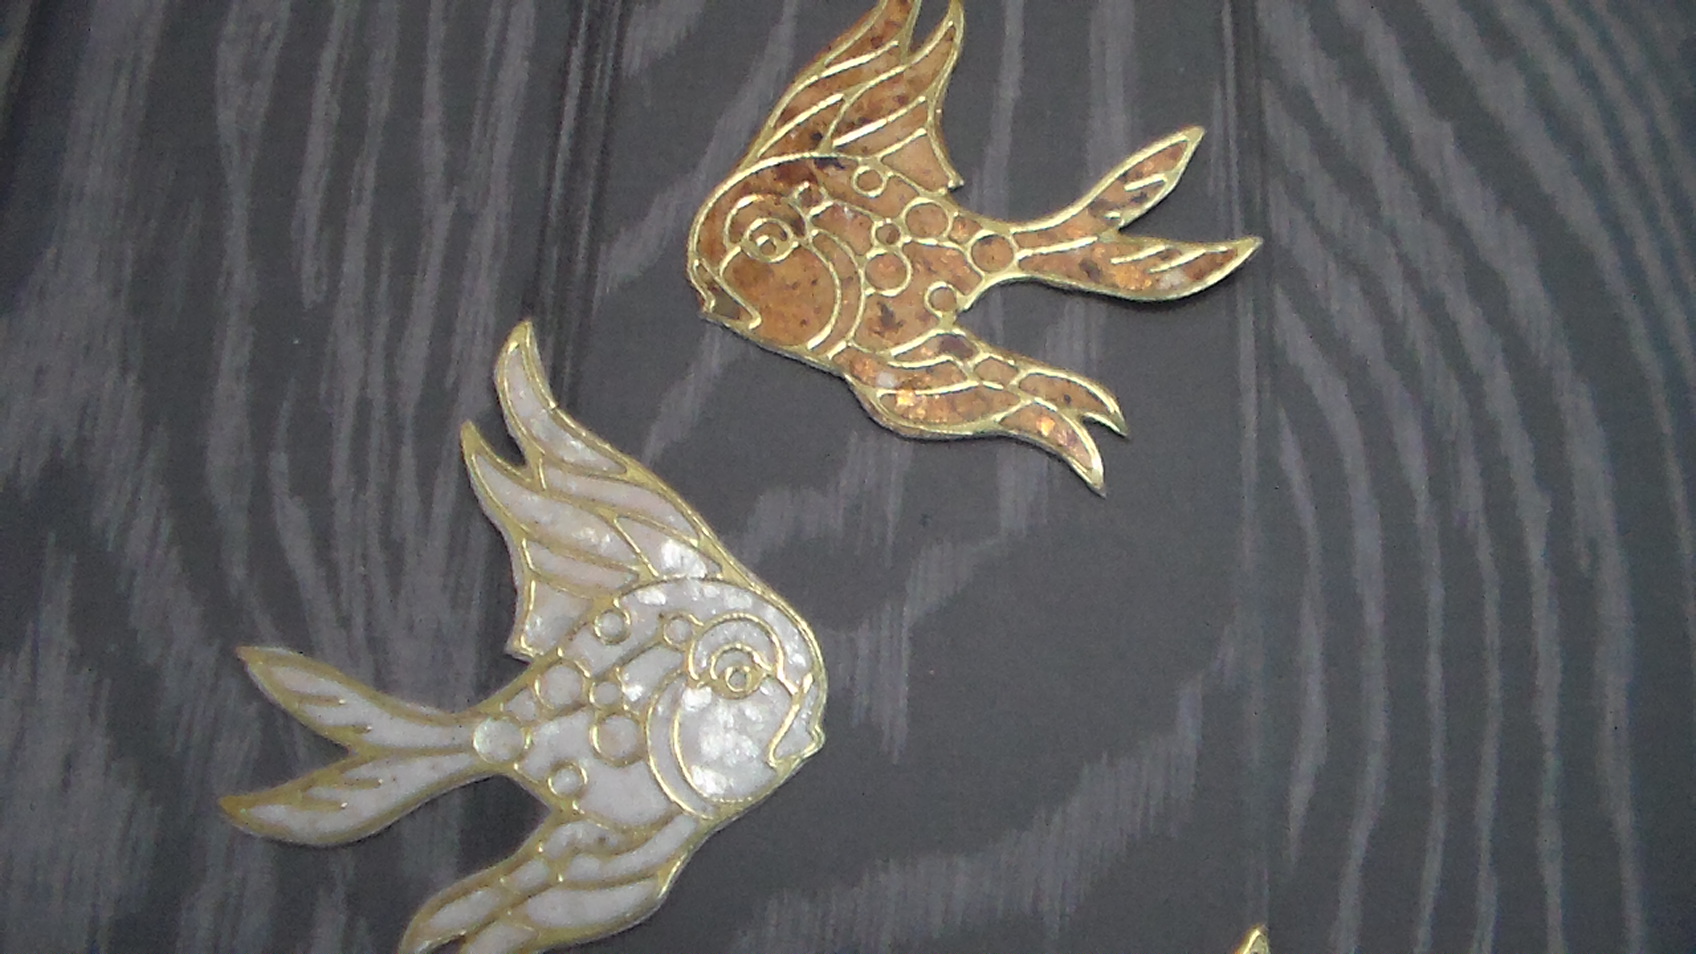
I will be playing with this product some more over time, I found this to be fun, and i really love how they turned out. Thank again for coming by and will see you with next video.
Tantalaya McKinney
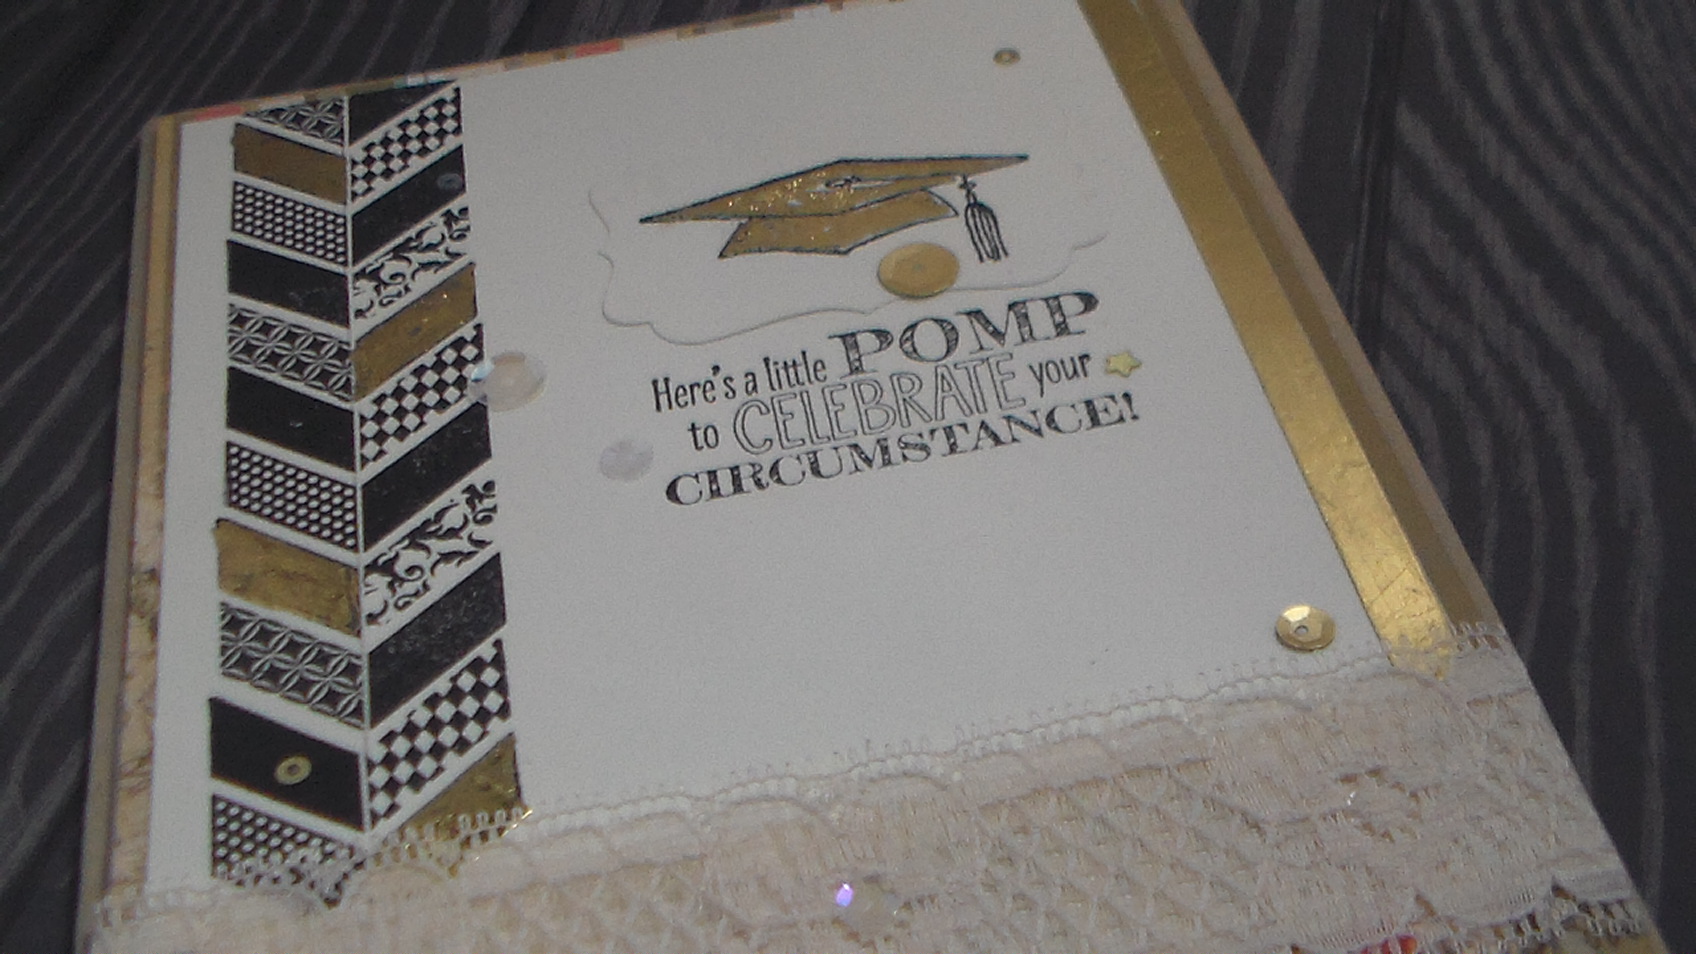
So today I worked on a graduation card and used the no laminator technique with foiling. Let me tell you this there are some pitfalls you want to stay from and please watch my video to see some in action.
The size of the card today is 5″x7″ and we are using both the #stampofapproval box and a stamping up set called “Pomp & Circumstance”. This card there was a small idea for it but it truly came together as I was going and I wanted to try using the foil a different way.
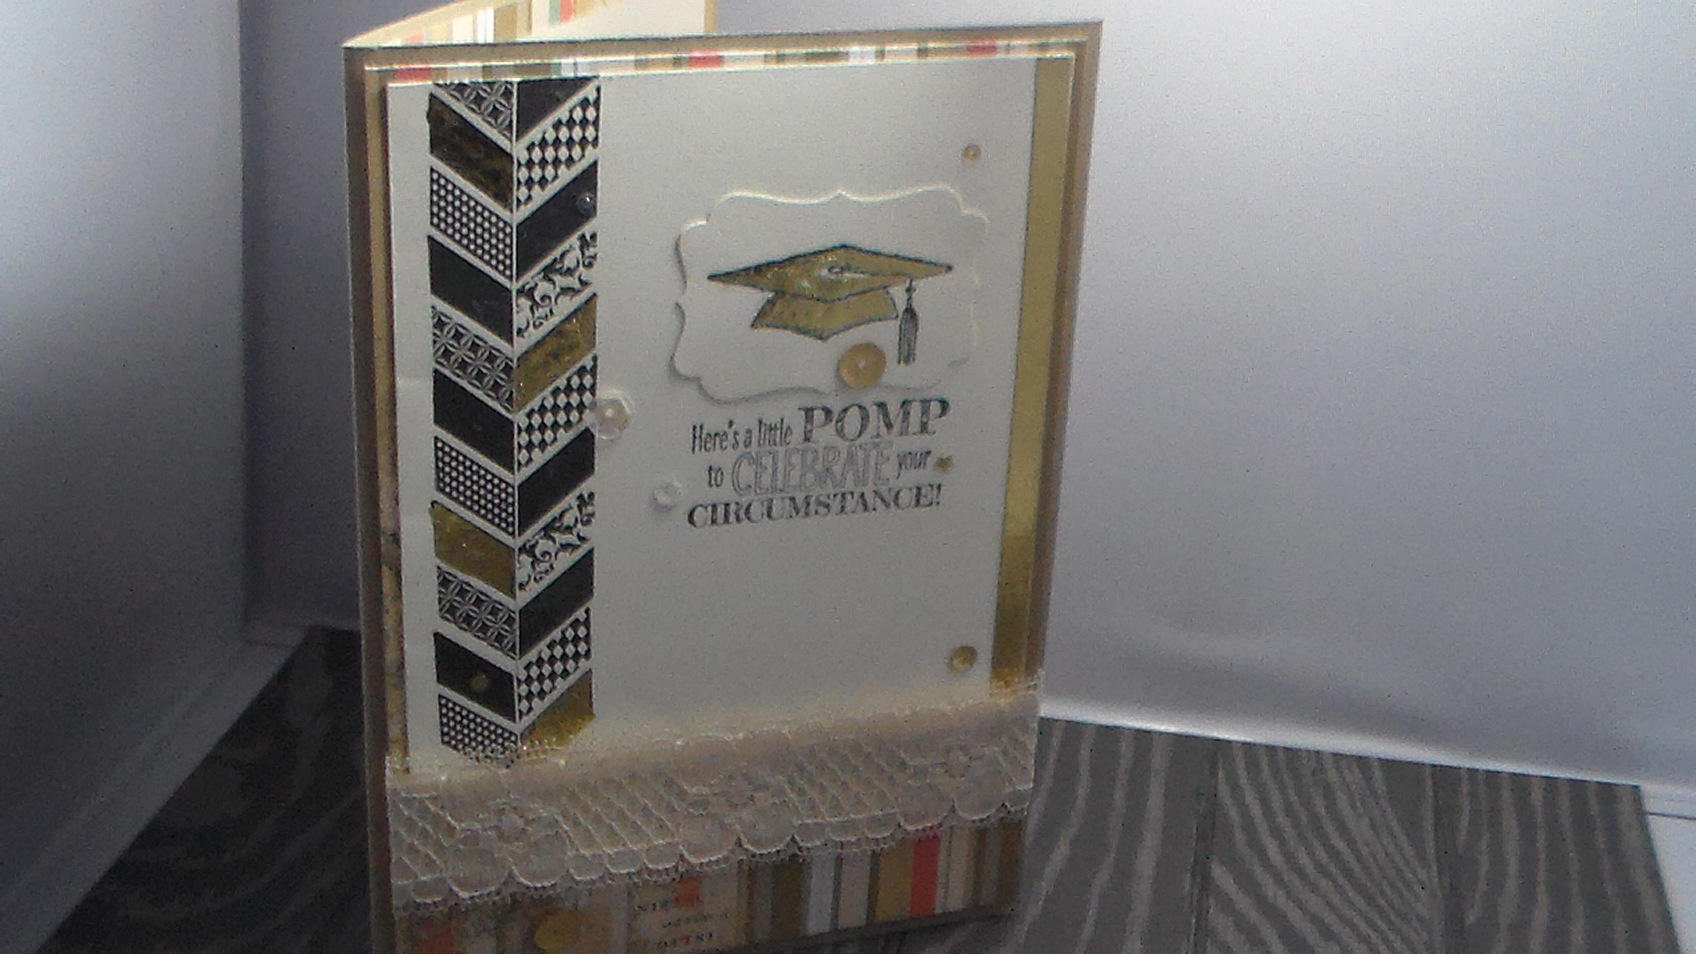
on the final product I included sequins and ribbon and lace. Even though we had the gold accents I wanted to balance the shinny items and felt the lace and ribbons do just that.
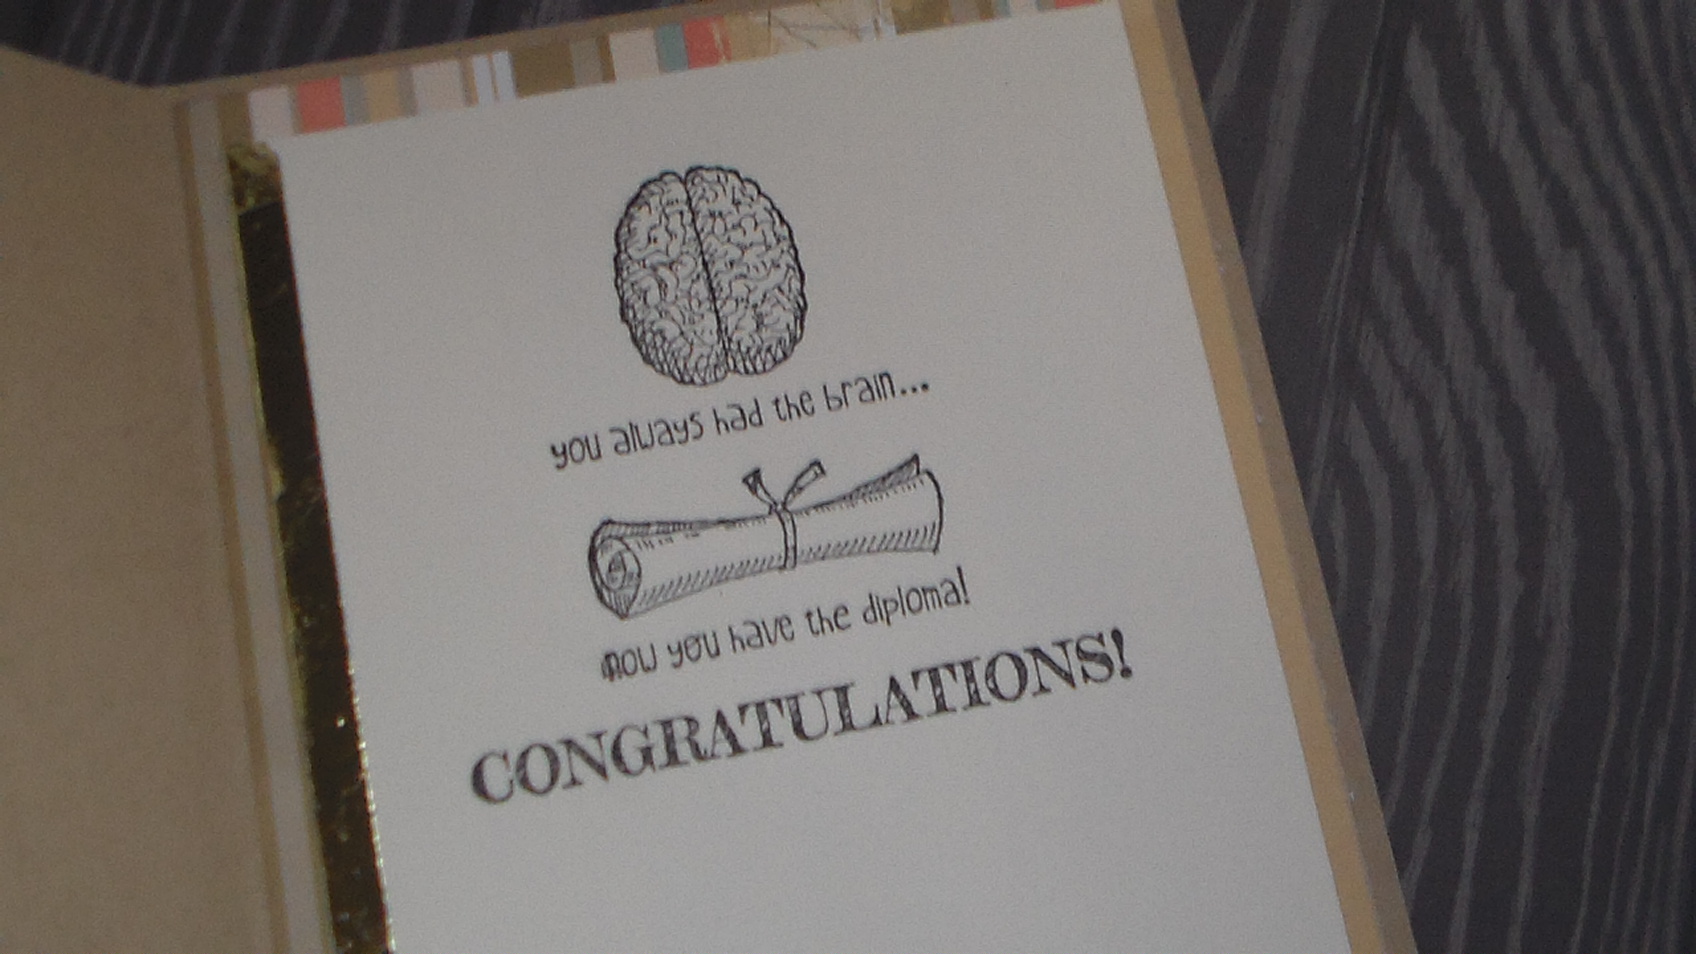
Then in the inside to complete it, I added a strip gold to match the front and then stamped inside a saying from the “Pomp & Circumstance” set. This was an interesting card to make and I look forward to playing with this some more in the future.
Thank you for coming to the Blog and I hope you enjoy the video on my youtube channel.
Tantalaya McKinney
“Craft With Te”
Today I posted a video about how I have decided to store my Ribbon, lace, and twine. I will provide a link to the video below on my youtube channel. I got the idea from my friend Beatriz Santana who has been doing her ribbon this way and was kind to share it with me one day, while we were hanging out on google. It is always frustrating when you have stuff and you have tried to store it but it just isn’t working. I have tried the ribbon on spools and special ribbon displays and it just wasn’t working and I wasn’t happy with any of it.
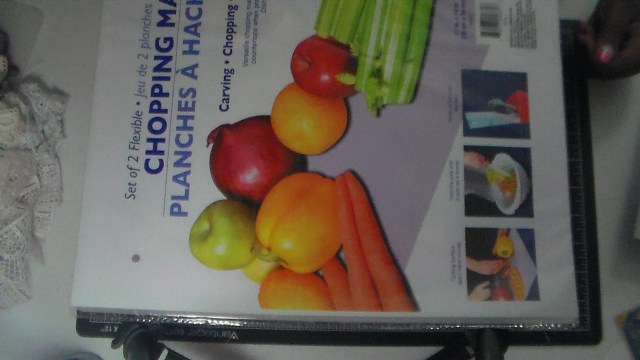
The above picture is the chopping mat that I found at the dollar tree. My dollar tree only had the clear but some have them with color. So I cut them down to 3″ x 51/4″.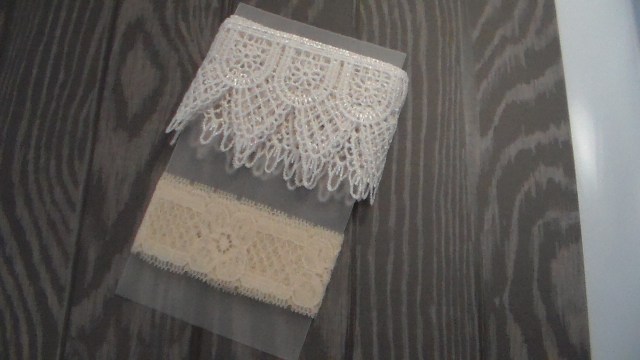 On this one I am showing it with 2 laces but you can added up to 5 depending on the width of the ribbon or lace.
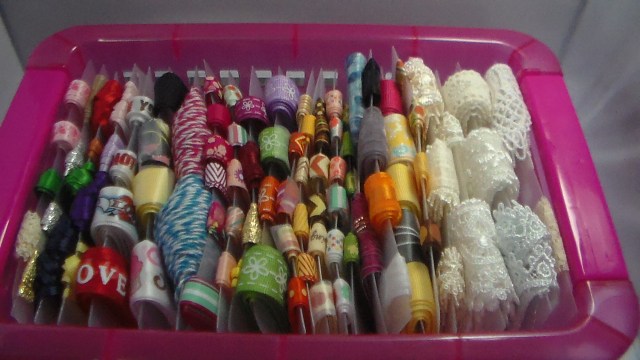 Here is a picture of one of the bins I currently have it in. I can’t say it will stay this way forever but right now this is working and I really love how I can see everything in a glance. So plastic and pink container were bought at the dollar tree……if you decided to store yours this way share some pictures with me just post here in the comments.
I wanted to share and put my Prima Projects all is one post. That way if people want to see what I have done with the oil pastels or any other project they would have it at a glance. If you have any questions please just leave a comment and I will answer you Back.
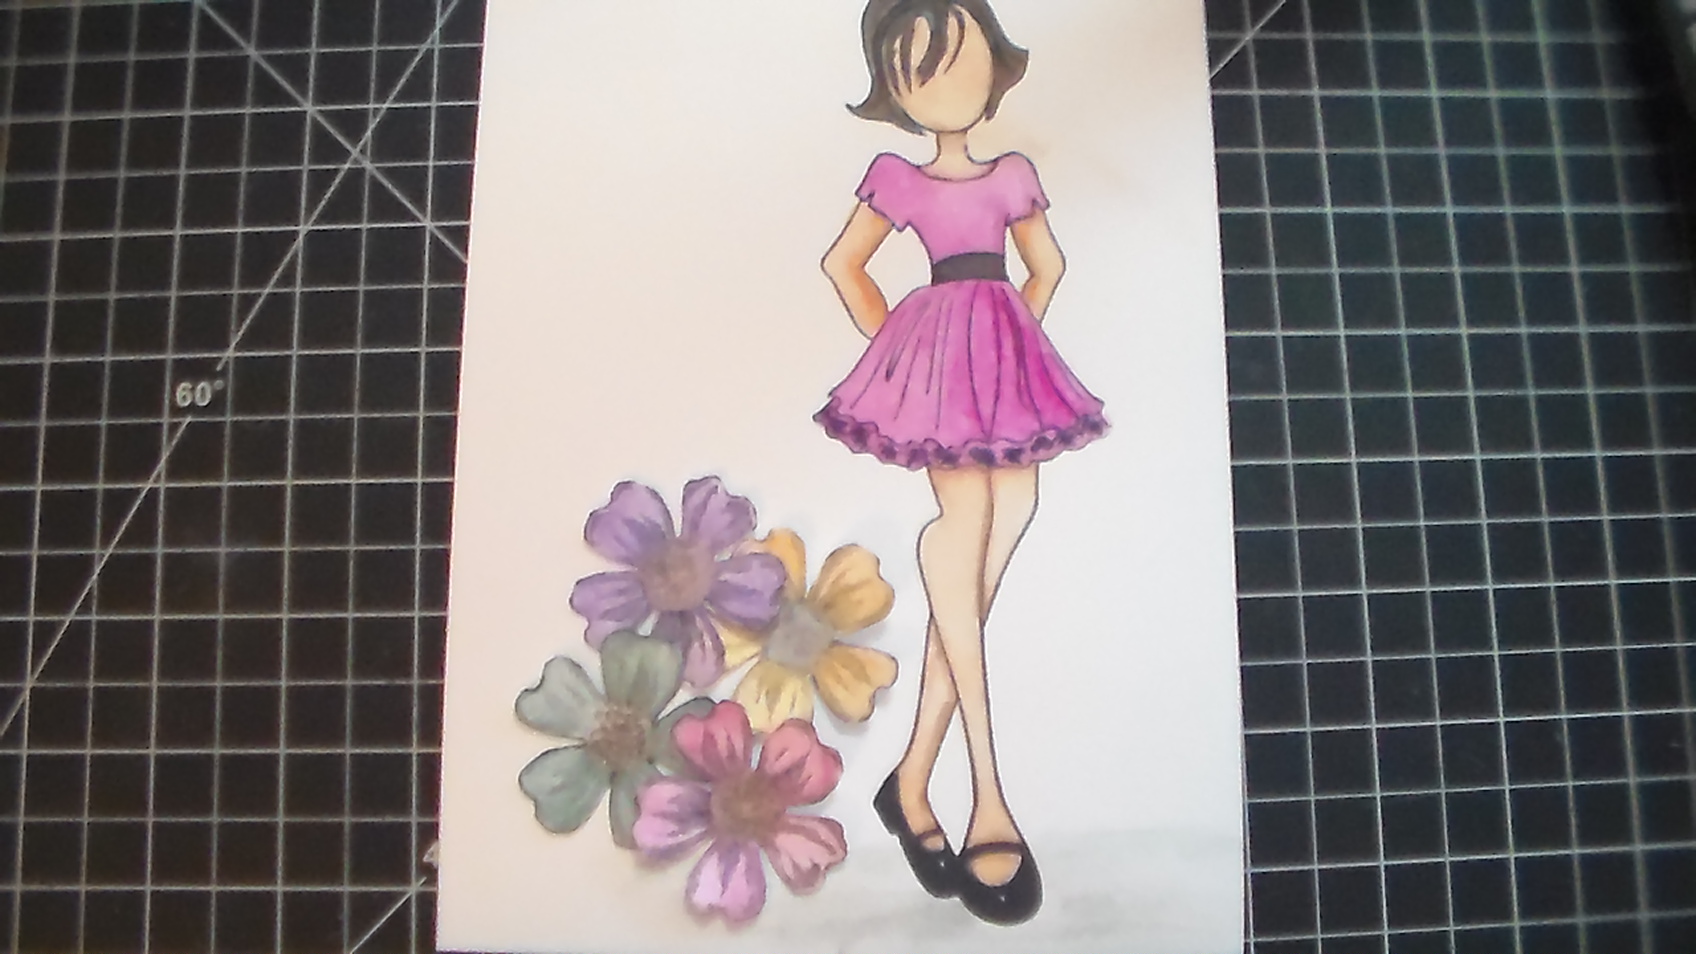
Sorry it has been a while since I posted but I have been working on my youtube channel and trying to be consistent on adding videos.
Youtube channel Link:
Video Coloring with Prima Oil Pastels: https://youtu.be/Tdi0YrcwfCU
So I plan to try and post more especially about the projects I am working on and sharing about my videos…..Just be kind to me and know I am working on this and trying to get better at blog.
